
Launching a fashion collection means showing your designs on diverse models — different body types, genders, and ethnicities. Traditional photoshoots require booking multiple models, coordinating schedules, and reshooting every look. With StyTrix's Group Shoot, you can generate the same outfit on every model in your library with a single click.
In this tutorial, we'll walk through the entire Group Shoot workflow — from selecting models to batch-generating a unisex black top and khaki pants outfit on both a female and male model.
What You'll Need
- A StyTrix account (free tier works)
- At least one garment image in your Media Library (generated or uploaded)
- Models in your Model Library (StyTrix includes default models)
What is Group Shoot?
Group Shoot is a batch generation tool under Model Tools in StyTrix. It lets you:
- Select multiple models from your Model Library
- Choose a garment reference — upload an image, pick from your Media Library, or drag from canvas
- Configure photography settings — environment, composition, pose, and lighting style
- Generate all variations at once — one image per model, all wearing the same outfit
This is ideal for:
- E-commerce: Show the same product on diverse models
- Lookbooks: Create consistent multi-model spreads
- Inclusive campaigns: Represent different demographics wearing the same design
- Size visualization: Show how garments look on different body types
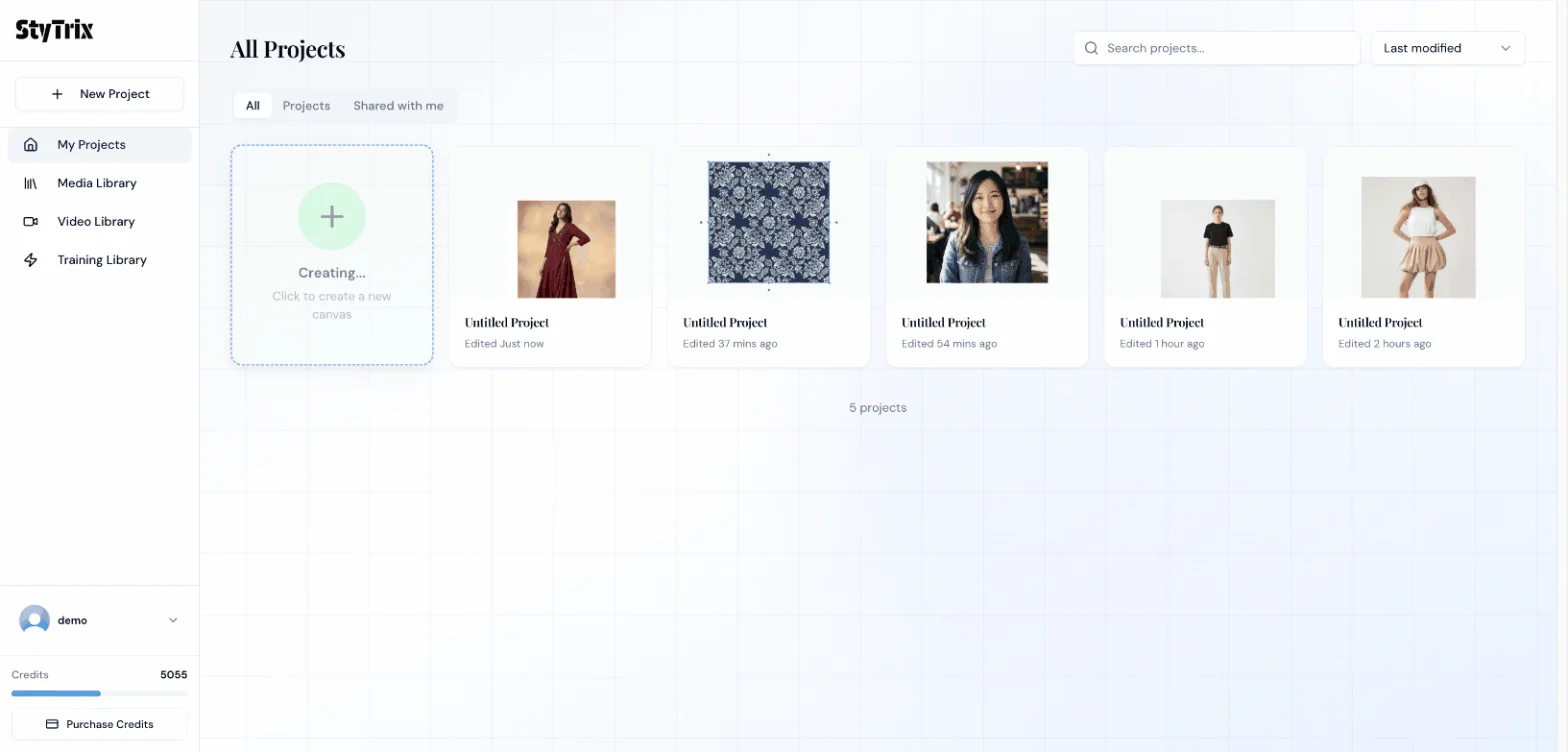
Step 1: Create a New Project
From the Dashboard, click the New Project card to open a fresh canvas.
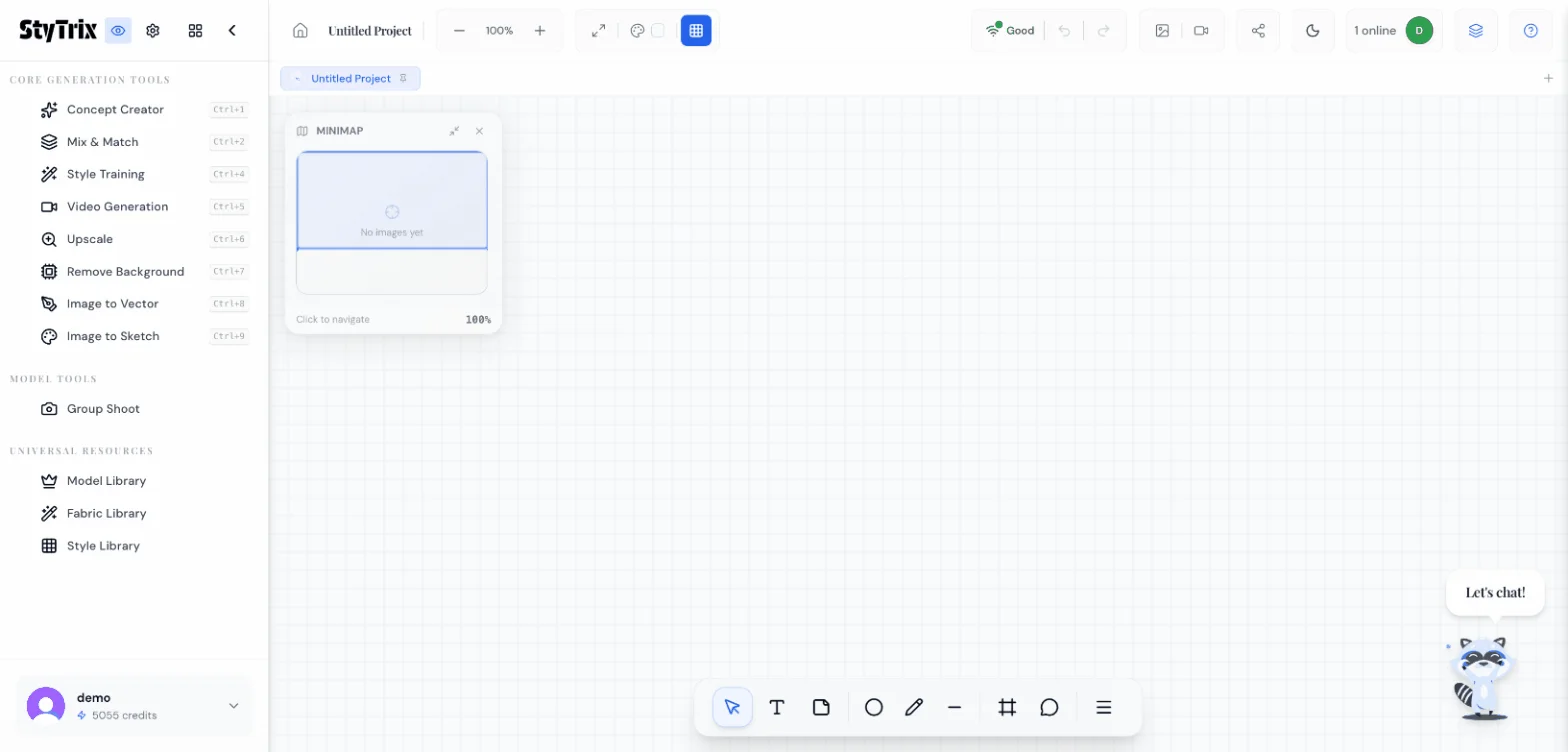
Step 2: Open Group Shoot
On the canvas, you'll see the full tool sidebar on the left. Under Model Tools, click Group Shoot.
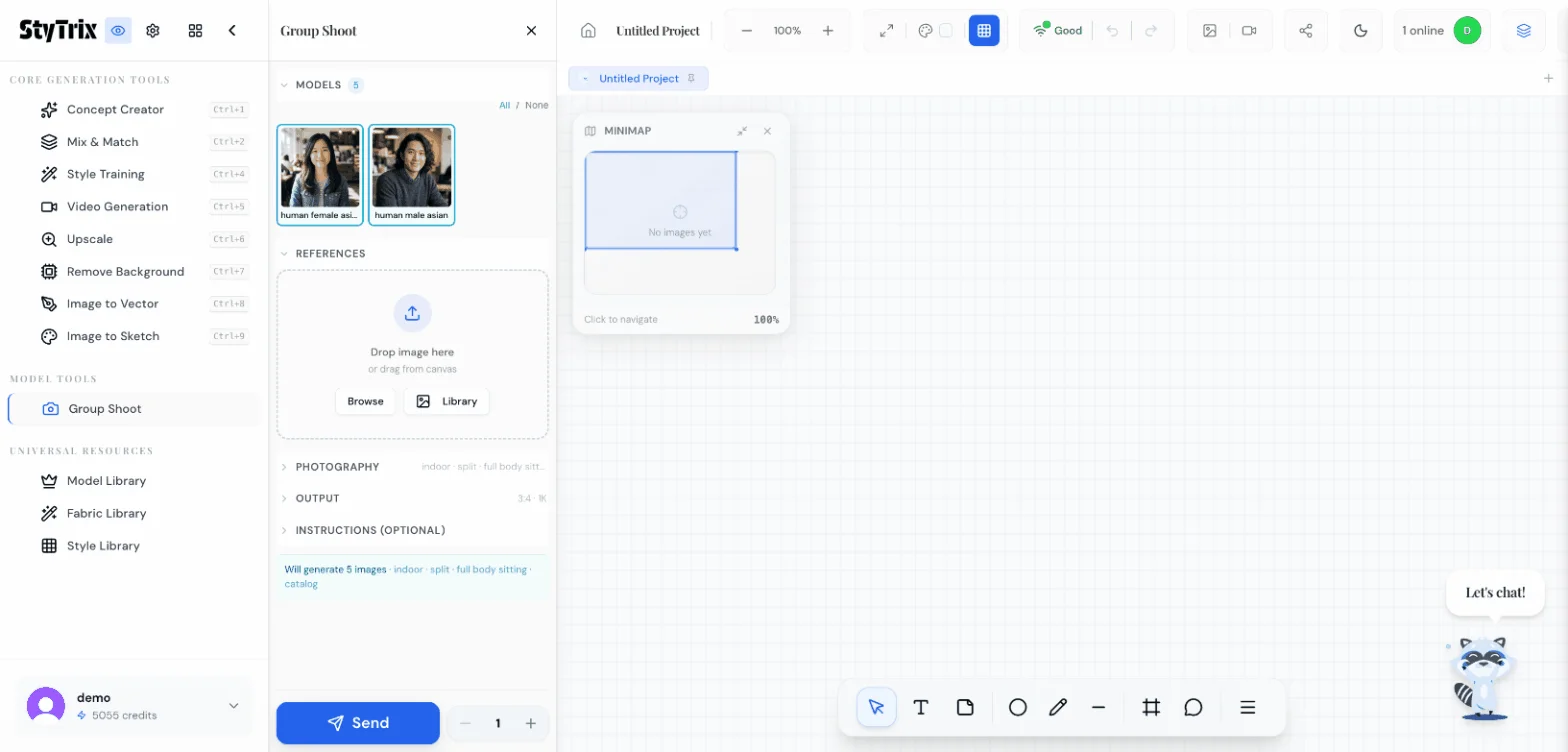
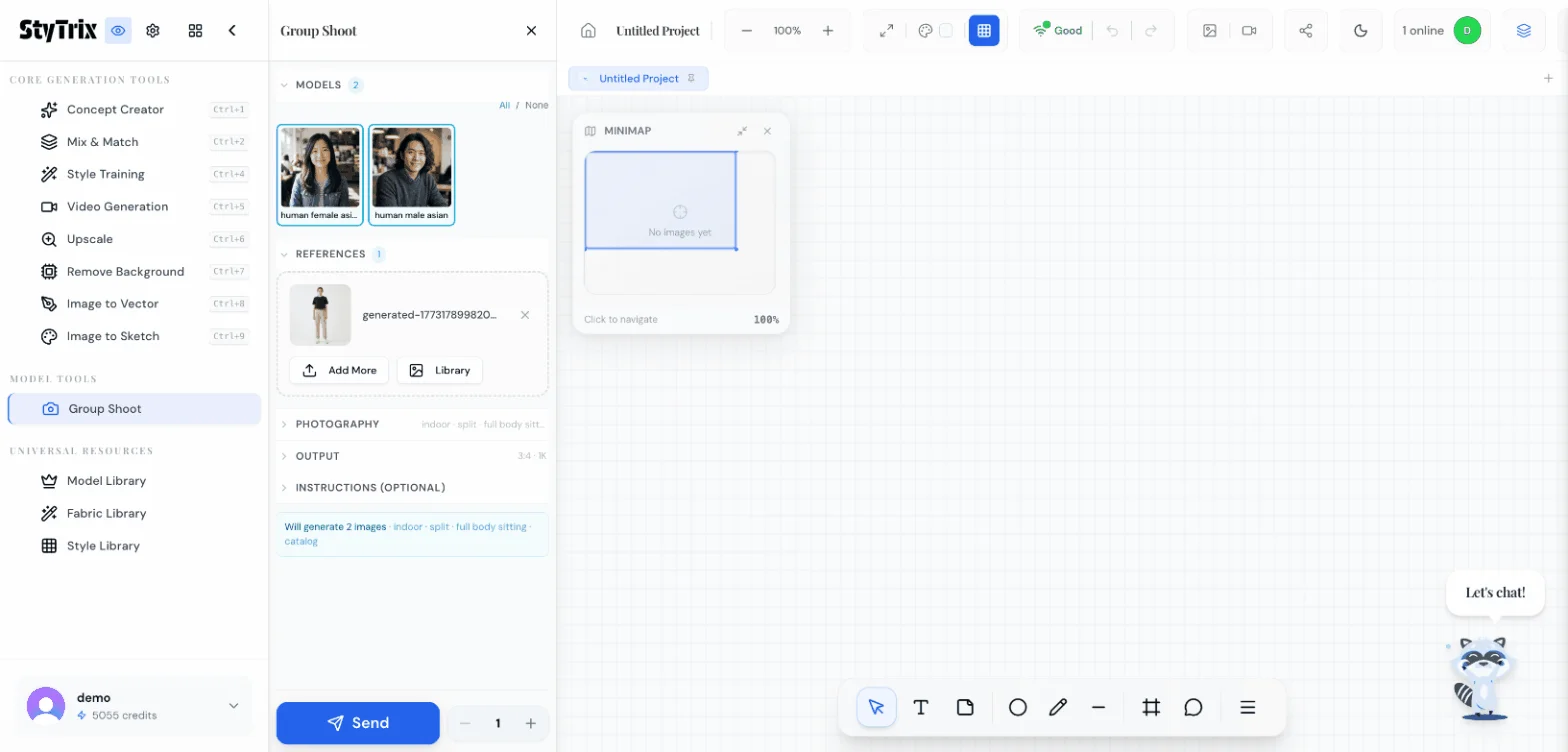
Step 3: Select Your Models
The Group Shoot panel opens with your Model Library at the top. You'll see all available models with their preview thumbnails. In this example, we have two models:
- Human Female Asian
- Human Male Asian
Both are pre-selected (blue border). You can use the All / None toggle to quickly select or deselect all models. The badge shows "2" confirming two models are selected.
Below the models, you'll see the References section (currently empty), Photography settings (indoor, split, full body sitting), Output settings (3:4, 1K), and an Instructions field for optional text guidance.
The status bar at the bottom shows: "Will generate 2 images · indoor · split · full body sitting · catalog"
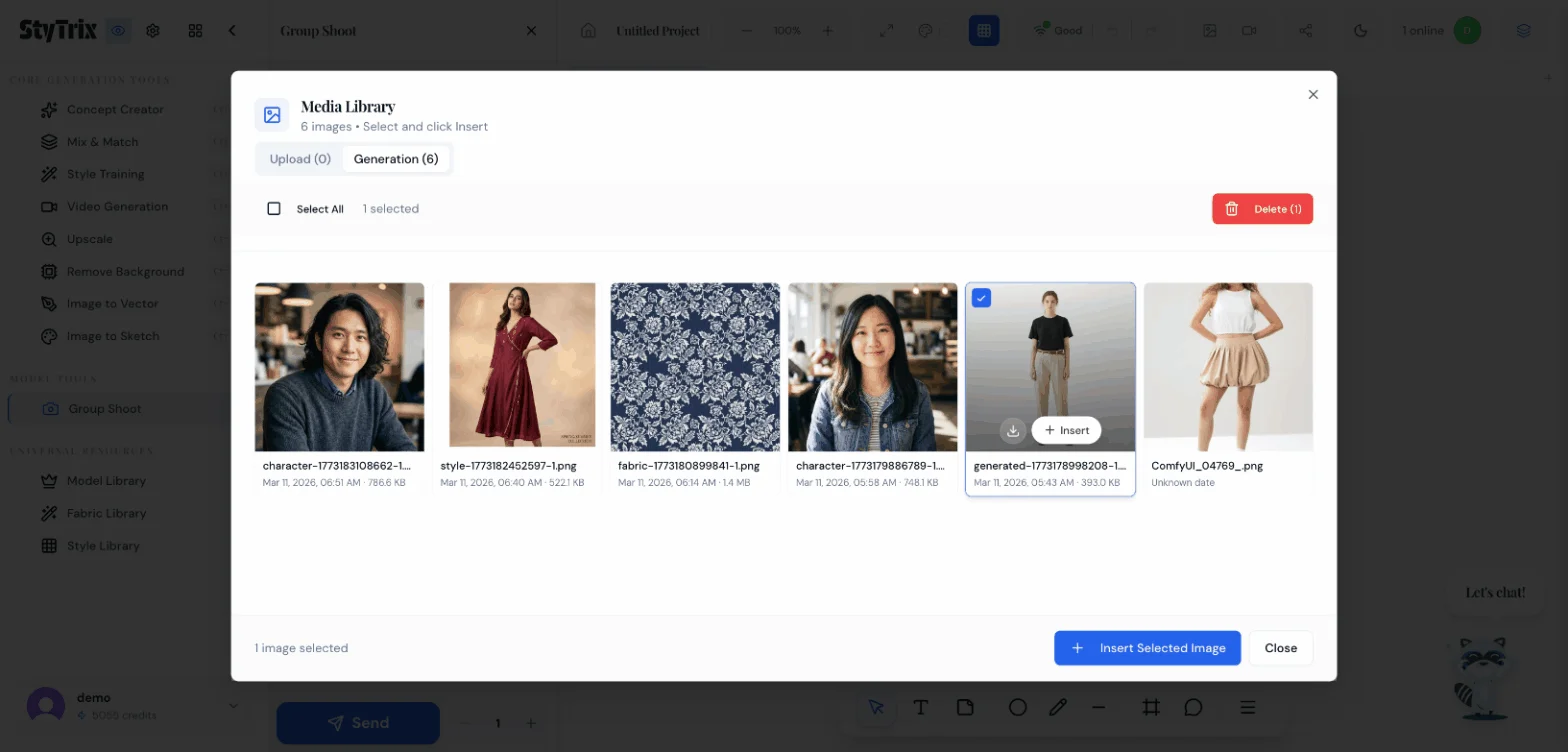
Step 4: Choose a Garment from Media Library
Click the Library button in the References section. This opens the Media Library modal.
Switch to the Generation tab to browse images you've previously generated in StyTrix. You'll see all your past creations — model photos, fabric textures, style library outputs, and more.
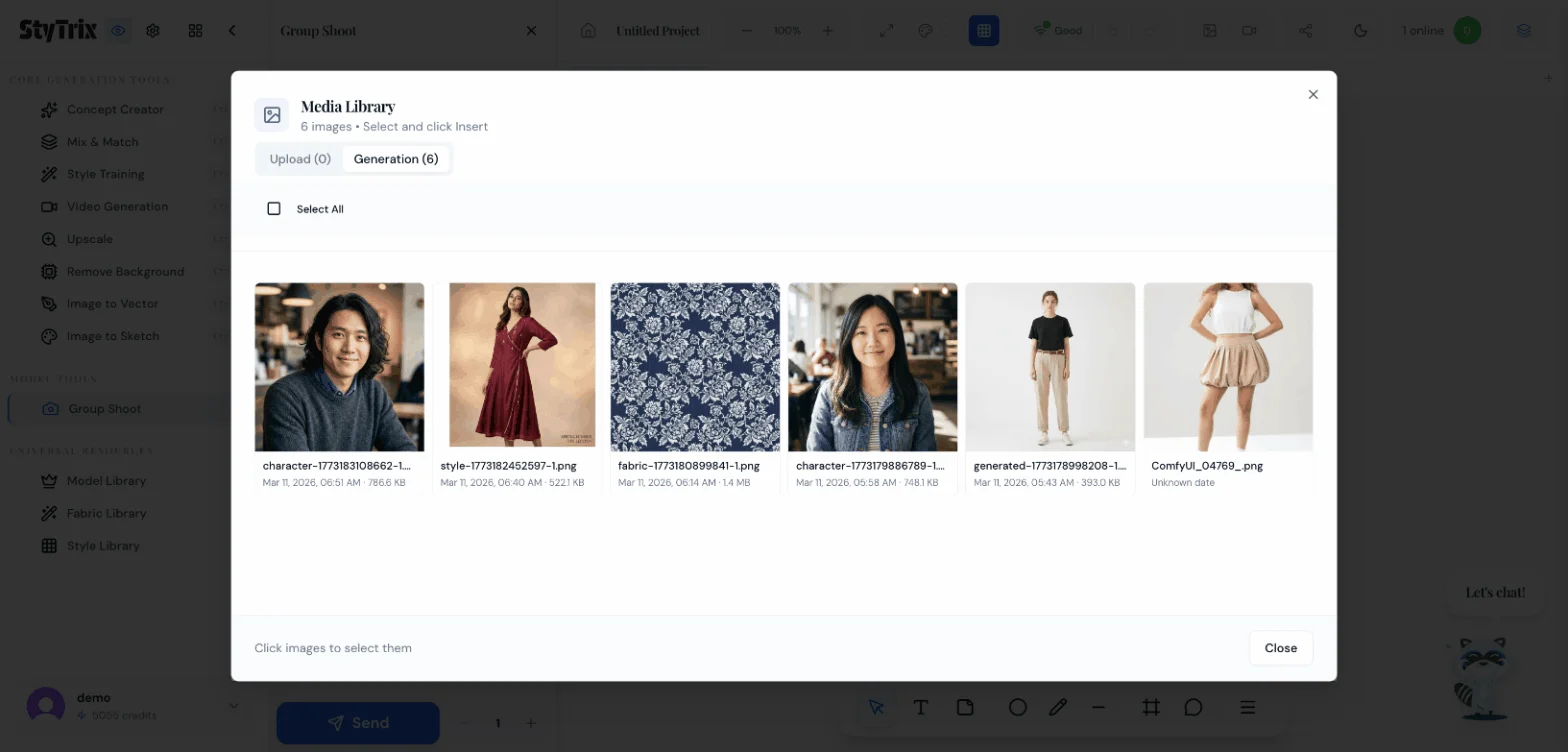
For this tutorial, we selected a black top with khaki pants — a unisex outfit that works for both male and female models. Click the image to select it (blue checkmark appears), then click + Insert Selected Image.
Step 5: Review & Generate
The garment reference now appears in the Group Shoot panel under References. You can see a thumbnail preview of the selected outfit. Everything is ready:
- Models: 2 selected (female + male)
- Reference: Black top + khaki pants
- Photography: Indoor, split lighting, full body sitting pose
- Output: 3:4 aspect ratio, 1K resolution
Click the Send button to start generating.
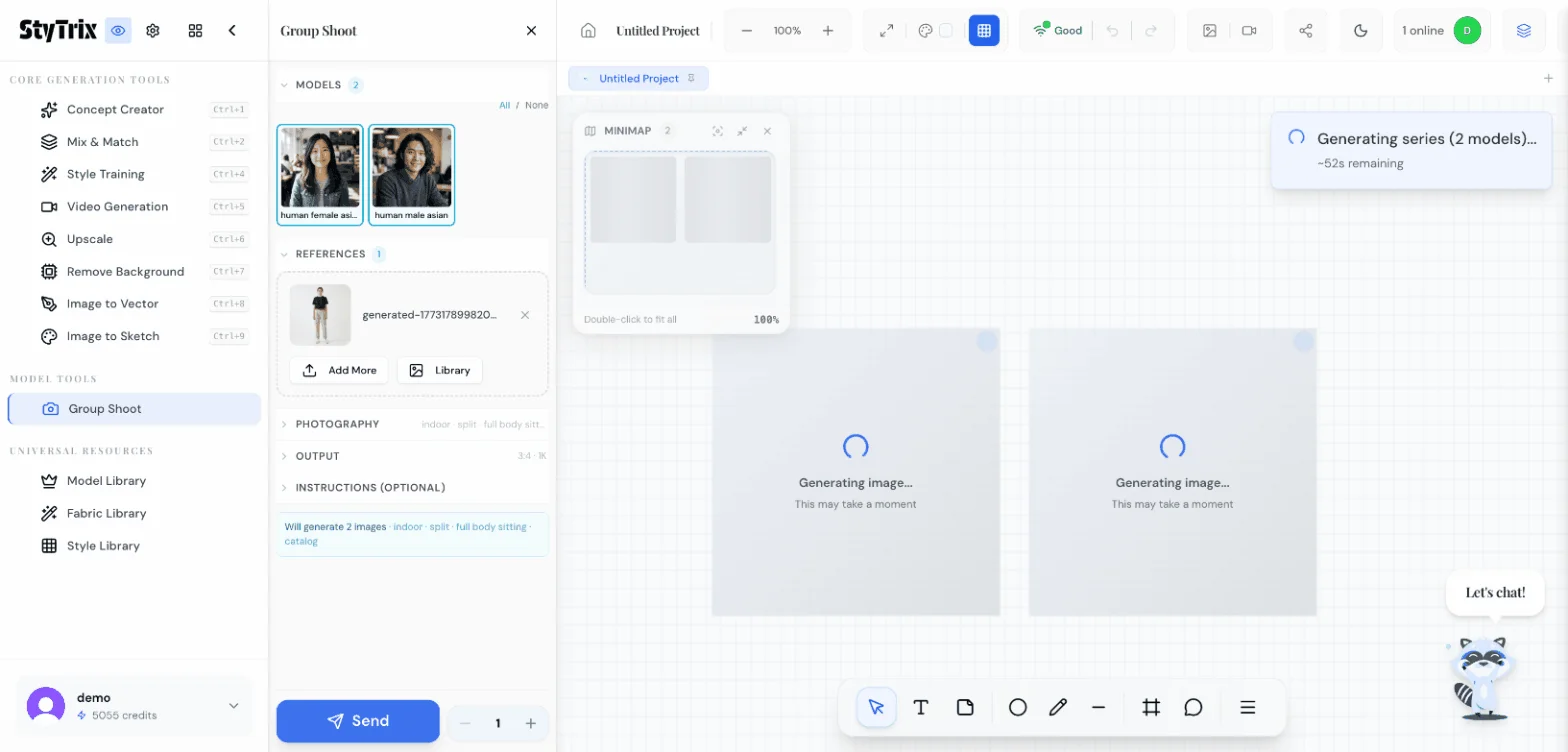
Step 6: Generation in Progress
StyTrix generates all model variations simultaneously. You'll see:
- A notification showing "Generating series (2 models)... ~44s remaining"
- Two placeholder cards on the canvas with loading spinners
- Each card shows "Generating image... This may take a moment"
The batch generation typically takes 30–60 seconds depending on the number of models.
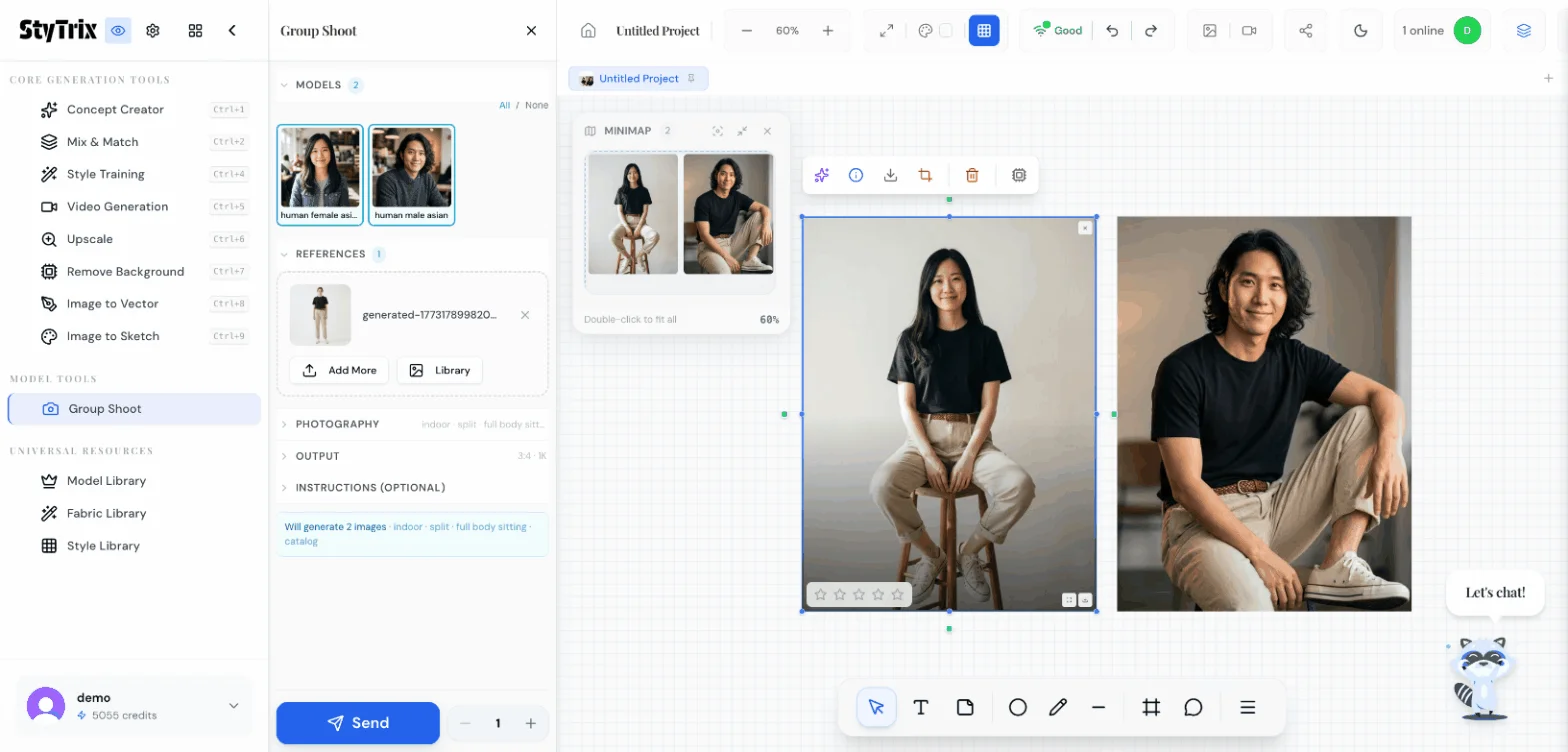
The Result
Both images appear on the canvas side by side. The AI has:
- Preserved the outfit — same black top and khaki pants on both models
- Maintained each model's identity — face, hair, and body type are consistent with the model profiles
- Applied consistent photography — matching indoor studio lighting, similar sitting pose, professional catalog quality
- Generated in one batch — no need to run separate generations for each model
The minimap in the top-left shows both images laid out on the canvas for easy navigation.
Group Shoot vs. Individual Generation
| Individual Generation | Group Shoot | |
|---|---|---|
| Workflow | Generate one model at a time | All models in one batch |
| Consistency | Must manually match settings | Same reference + settings applied to all |
| Speed | N generations × wait time | Single batch, parallel processing |
| Use case | Single hero shot | Lookbooks, e-commerce, campaigns |
Pro Tips
- Add more models first — visit the Model Library in the sidebar to create custom AI models with specific demographics, then use them in Group Shoot
- Use the Photography section to control environment (indoor/outdoor), composition (split/centered), pose (standing/sitting/walking), and style (catalog/editorial/lifestyle)
- Add instructions for extra control — the optional Instructions field lets you add text guidance like "casual summer vibe" or "professional corporate setting"
- Drag from canvas — if you already have a garment image on your canvas, you can drag it directly into the References area instead of using Library
- Increase the count — use the + button next to Send to generate multiple variations per model
What's Next?
After generating your Group Shoot images, you can:
- Upscale — Use the Upscale tool for higher resolution, print-ready output
- Remove Background — Clean up images for e-commerce product listings
- Video Generation — Turn any static image into a short fashion video
- Export — Download all images for your lookbook, website, or marketing materials
- Iterate — Change the garment reference and regenerate to quickly build a full collection across all models
Ready to create your own multi-model fashion shoots? Sign up for StyTrix and generate consistent looks across every model in seconds.
Related Tutorials & Guides
- Model Library: Create Custom AI Models — build the perfect models for your group shoots
- Style Library: Generate On-Brand Fashion Images — create styled garments to use in group shoots
- StyTrix Group Shoot Complete Guide — advanced features and batch generation tips
- AI Model Photo Generator for Clothing Brands — complete guide to AI-powered fashion photography
- D2C Fashion Photography: Cut Costs 90% with AI — how AI group shoots save fashion brands thousands


