
Have you ever wanted to see how two separate garments look together on a model — without scheduling a photoshoot? Whether you're a fashion brand building lookbooks, an e-commerce seller creating outfit bundles, or a designer exploring combinations, StyTrix's Mix & Match tool lets you combine individual garment photos into a complete, photorealistic outfit in seconds.
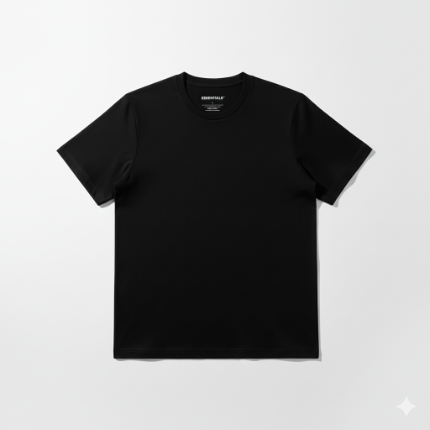
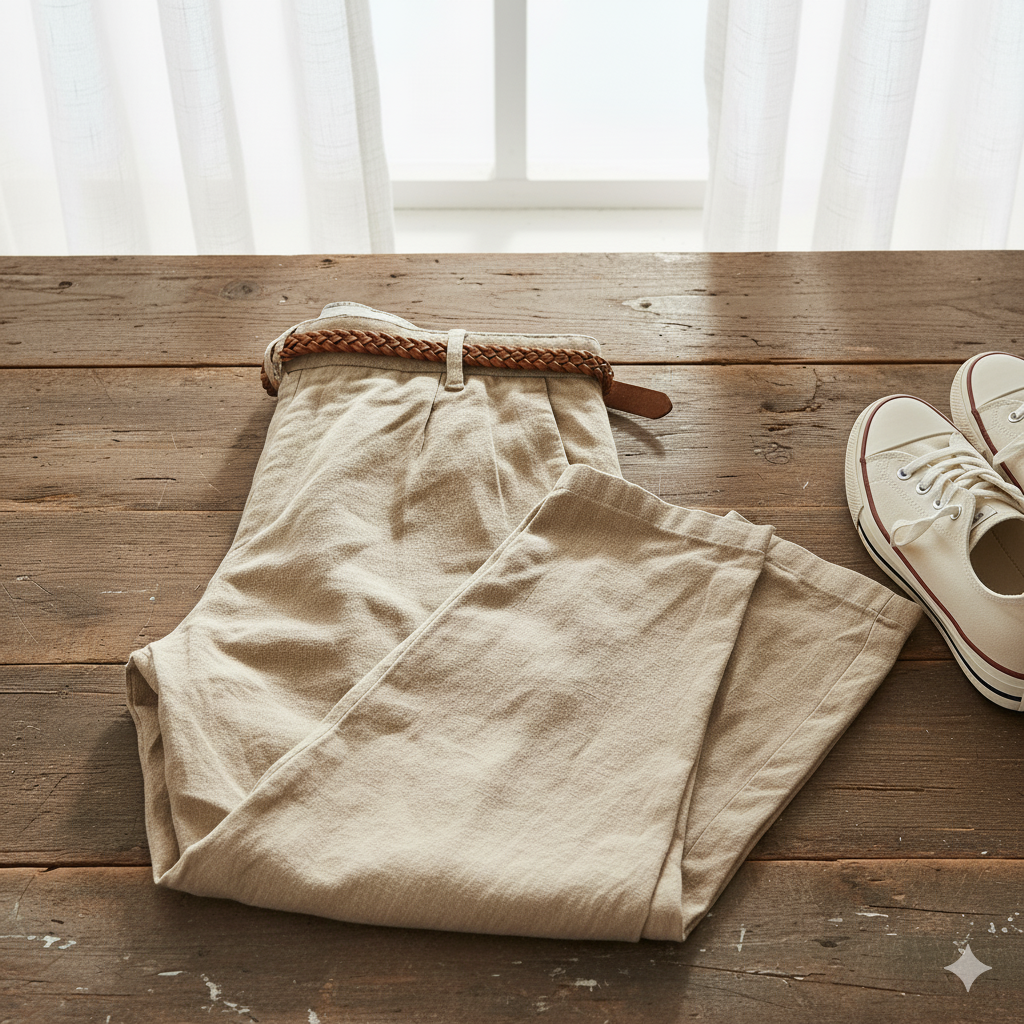
In this tutorial, we'll combine a black essentials t-shirt and a pair of beige khaki pants into a single model image.
What You'll Need
- A StyTrix account (free tier works)
- Two or more garment images (flat-lay product photos work best)
- A short text prompt describing the desired look
Want to follow along? Download the sample images we'll use:
Download top (black t-shirt) · Download bottom (khaki pants)
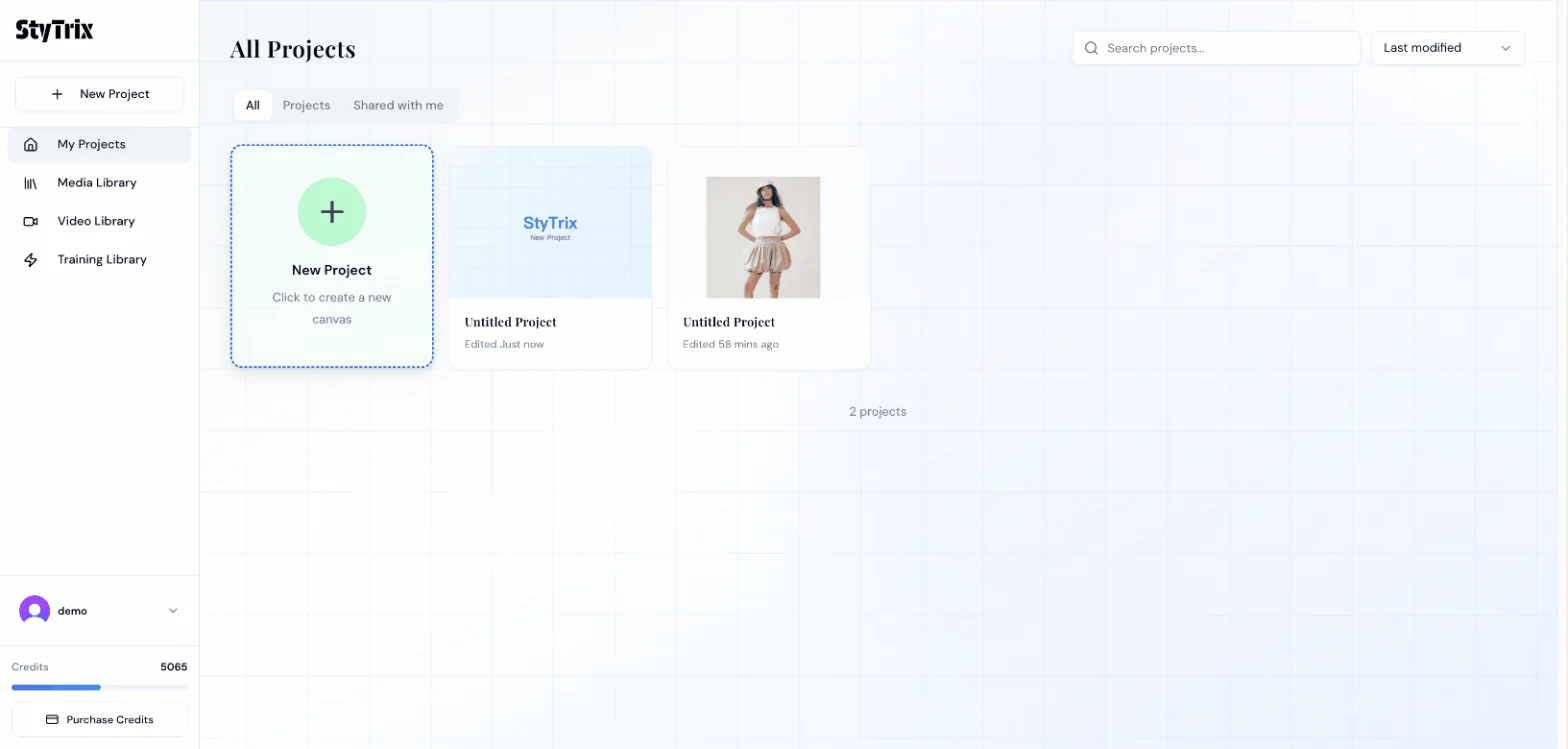
Step 1: Create a New Project
From the Dashboard, click the New Project card to create a fresh canvas.
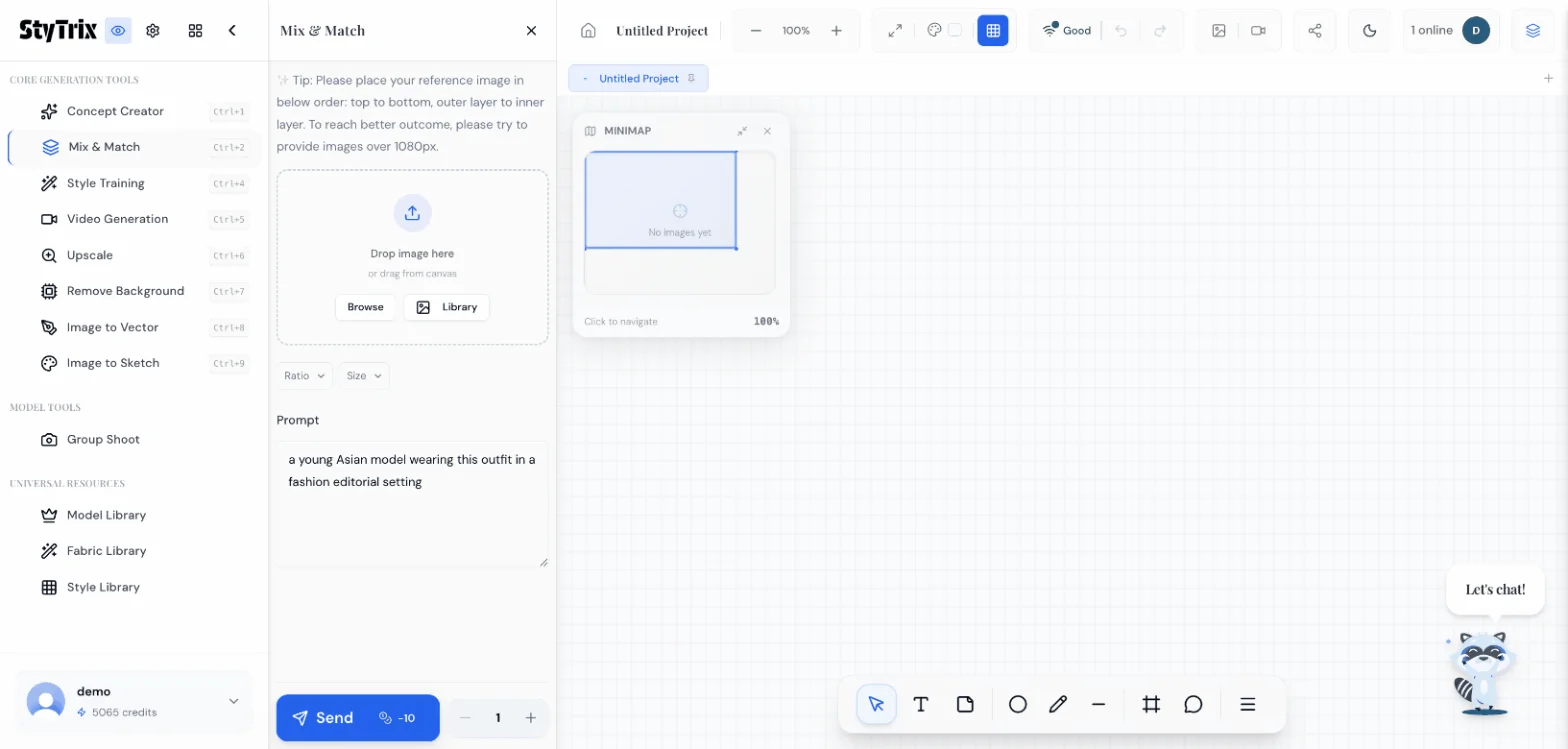
Step 2: Open Mix & Match
In the left sidebar under Core Generation Tools, click Mix & Match. This opens the Mix & Match panel where you can:
- Upload multiple garment images (top to bottom, outer layer to inner layer)
- Set aspect ratio and output size
- Write a prompt describing the desired outfit look
Tip: Place your reference images in order — top to bottom, outer layer to inner layer. For best results, use images over 1080px.
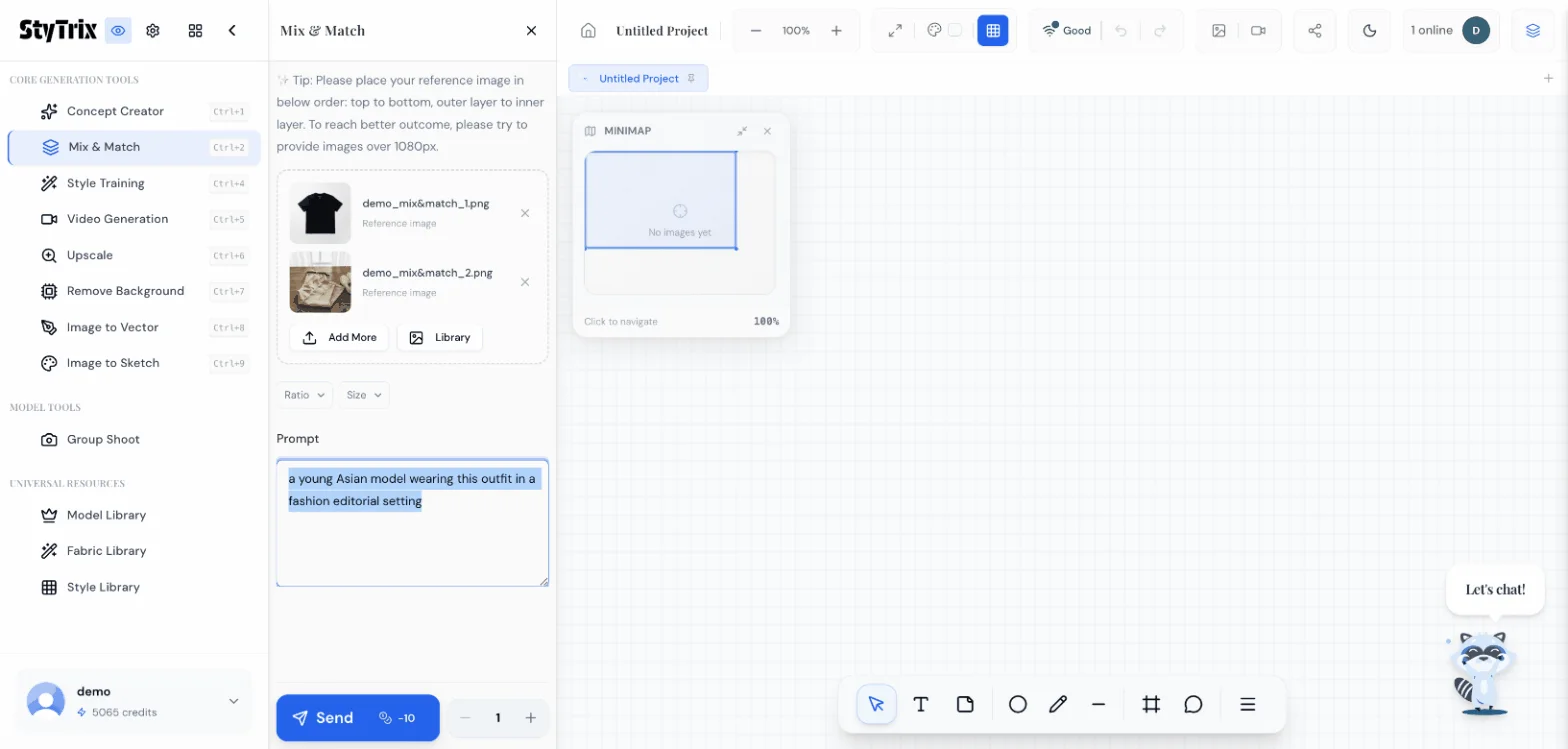
Step 3: Upload Your Garment Images
Click Browse to upload your garment photos. In this example, we upload two images:
- Black essentials t-shirt — the top layer
- Beige khaki pants — the bottom layer
Both images show as "Reference image" with thumbnails confirming successful upload.
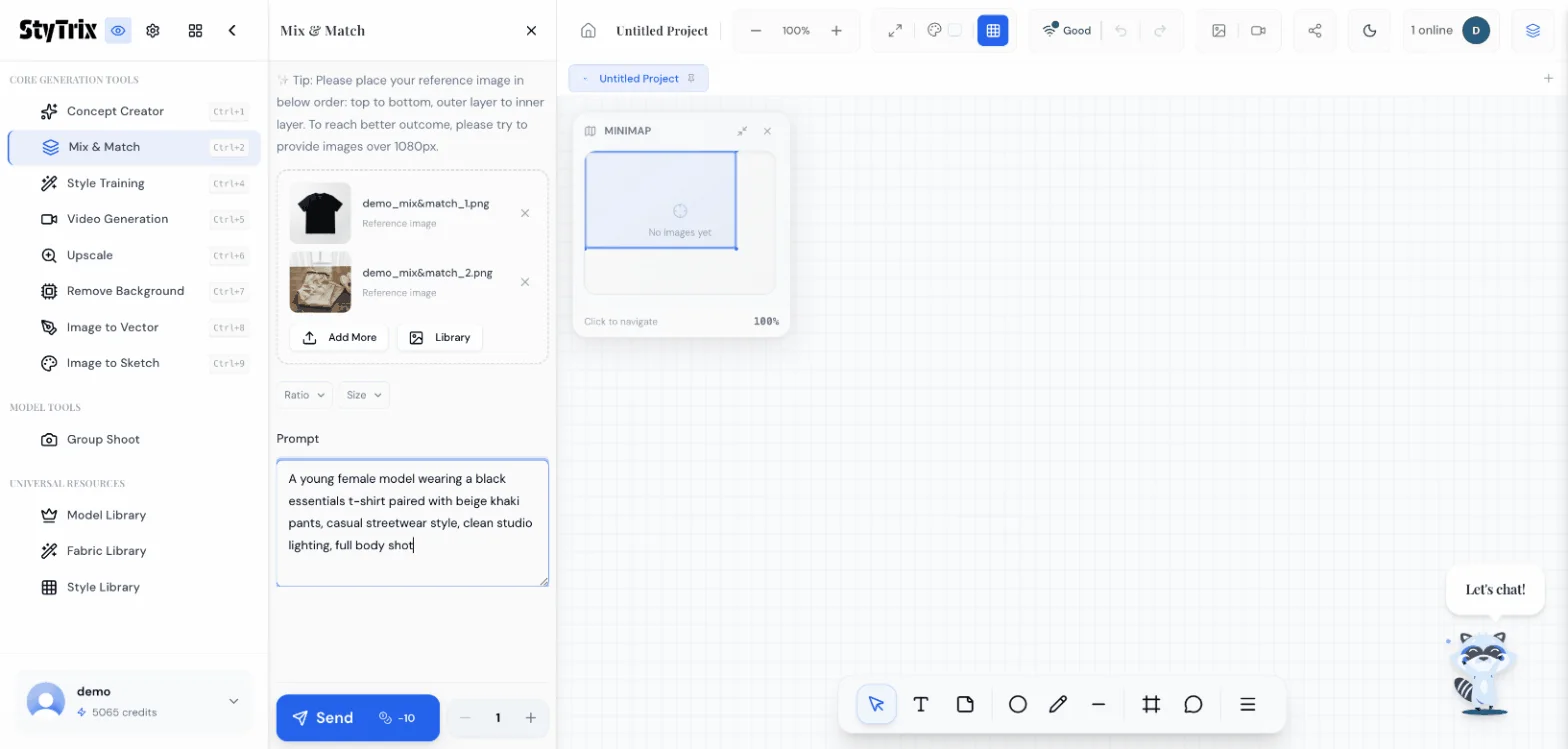
Step 4: Write Your Prompt
In the Prompt field, describe how you want the outfit to look on a model. Be specific about style and setting:
A young female model wearing a black essentials t-shirt paired with beige khaki pants, casual streetwear style, clean studio lighting, full body shot
Tips for better prompts:
- Describe the overall vibe (casual, editorial, streetwear, etc.)
- Mention lighting and shot type (full body, half body, etc.)
- Keep it concise — the AI works best with clear, focused descriptions
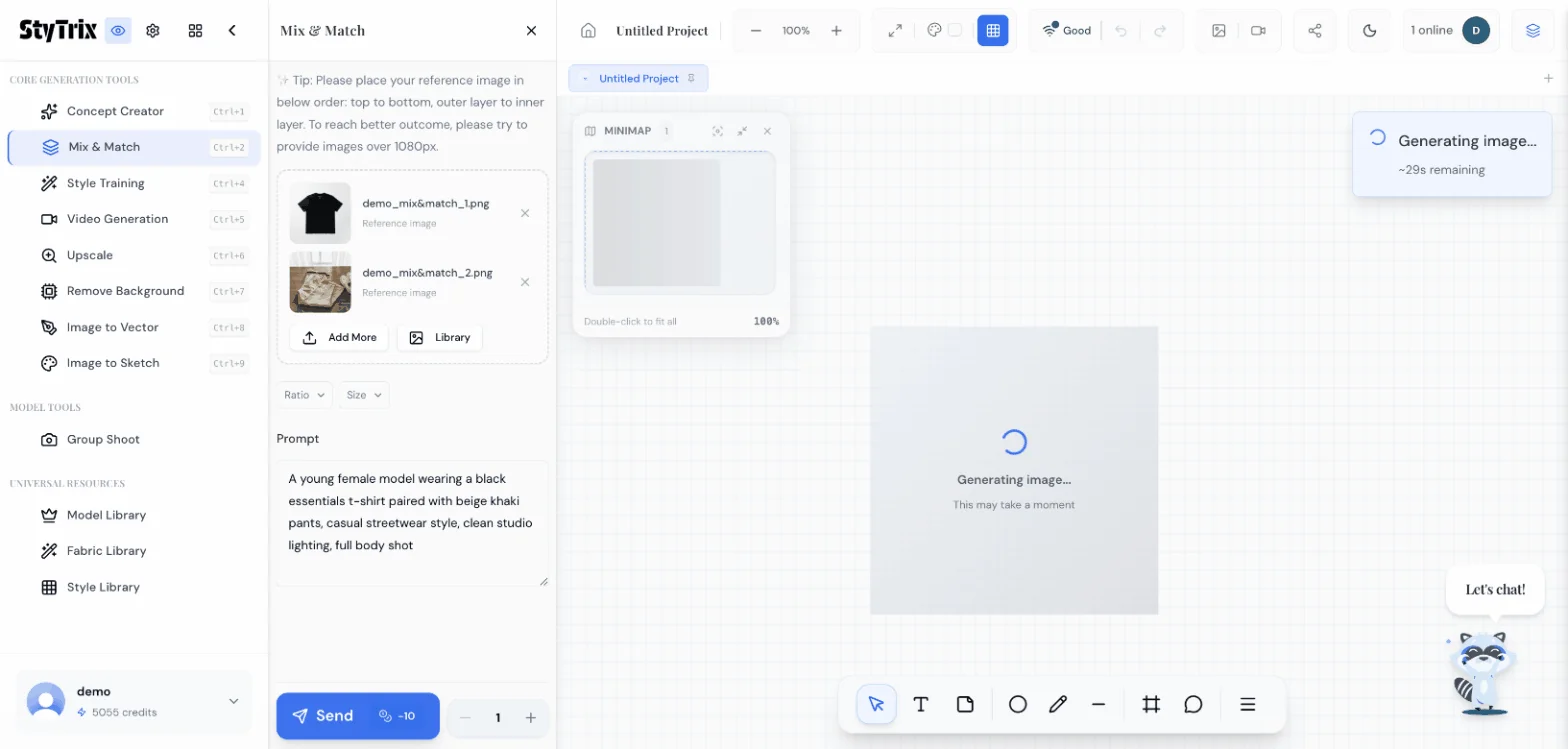
Step 5: Generate
Click the Send button (costs 10 credits per generation). The AI will analyze both garment images and your prompt, then generate a photorealistic image of a model wearing the complete outfit.
You'll see a progress indicator while the image is being generated (approximately 20–30 seconds).
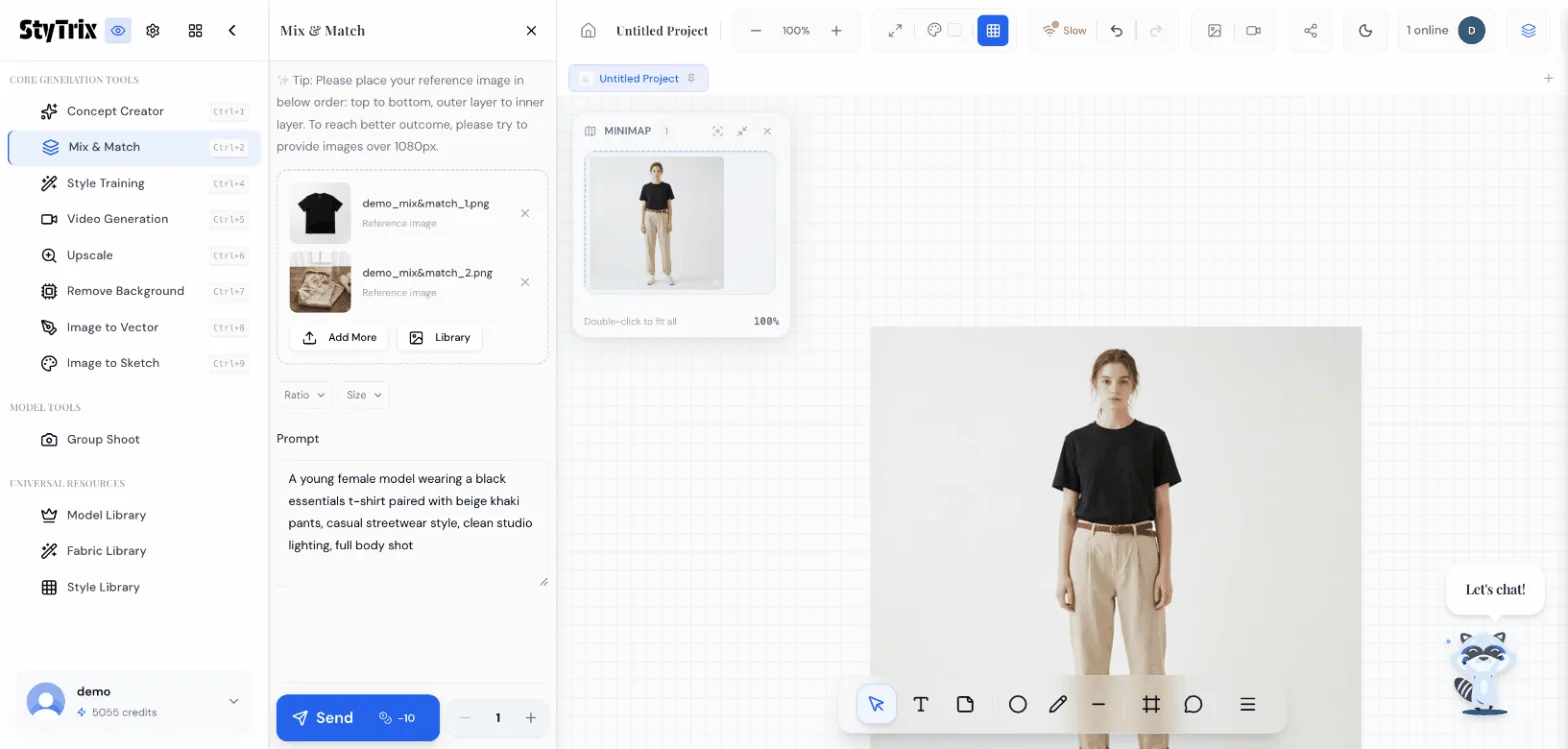
The Result
Here's the final output — both garments seamlessly combined on a model. The AI has:
- Preserved the exact appearance of both the black t-shirt and khaki pants
- Generated natural model posing with appropriate body proportions
- Applied clean studio lighting consistent with the prompt
- Created a production-ready image suitable for lookbooks, e-commerce, or social media
Comparing Input vs. Output
| Individual Photos | AI Mix & Match Output | |
|---|---|---|
| Time | Schedule a photoshoot | 30 seconds |
| Cost | Photographer + model fees | 10 credits |
| Flexibility | One outfit per shoot | Unlimited combinations |
| Iterations | Reshoot from scratch | Adjust prompt & regenerate |
Use Cases for Mix & Match
- E-commerce bundles — Show outfit combinations to increase average order value
- Lookbook creation — Generate entire collections of styled outfits without a photoshoot
- Social media content — Create styled outfit posts for Instagram, Pinterest, or TikTok
- Pre-production planning — Visualize fabric and color combinations before manufacturing
- Personal styling — Help customers see how pieces from your catalog work together
What's Next?
Once you have your combined outfit image, you can:
- Iterate — Swap out garments, change the prompt, or try different model styles
- Upscale — Use the Upscale tool for higher resolution output
- Remove Background — Clean up the image for a white or transparent background
- Video Generation — Turn your outfit image into a short fashion video
- Add more pieces — Upload 3+ garments (jacket, top, bottom, shoes) for complete outfits
Pro Tips
- Image order matters — Upload garments top to bottom, outer to inner. The AI uses this order to layer garments correctly
- Use flat-lay or product photos — Clean product images with white/plain backgrounds give the best results
- Mix categories freely — Combine tops, bottoms, jackets, accessories, and shoes in a single generation
- Try different prompts — The same garments can look very different with different prompt styles (editorial vs. casual vs. streetwear)
- Batch generate — Increase the count next to Send to generate multiple variations at once
Ready to create your own outfit combinations? Sign up for StyTrix and start mixing and matching in seconds.
Related Tutorials & Guides
- Sketch to Model: Turn Fashion Sketches into Photos — generate model-ready images from your design sketches
- Fabric Library: Generate Custom Fabric Swatches — create realistic fabric textures for your designs
- Group Shoot: Same Outfit on Multiple Models — showcase your outfits across diverse model types
- AI Outfit Generator: Complete Looks in Seconds — learn more about AI-powered outfit composition
- Complete AI Fashion Design Workflow — from concept to collection using AI
Turn Your Fashion Ideas Into Reality
Generate stunning fashion designs with AI. No design skills required.
Start Creating

