
Writing a good text prompt for AI fashion generation can be tricky — especially when you need to specify silhouettes, fits, occasions, and color palettes all at once. StyTrix's Style Library solves this by letting you build your fashion prompt visually through a series of intuitive attribute selectors.
In this tutorial, we'll walk through every step of the Style Library to generate a burgundy wrap dress styled for a romantic date night.
What You'll Need
- A StyTrix account (free tier works)
- No design files required — Style Library generates everything from attribute selections
What is Style Library?
Style Library is a prompt-free generation tool in StyTrix. Instead of writing text descriptions, you select attributes across six categories:
- Garment Type — Choose the type of clothing (e.g., wrap dress, blazer, t-shirt)
- Design & Fit — Silhouette, fit type, and length
- Construction Details — Neckline, sleeves, closures
- Style & Occasion — Aesthetic style, occasion, and season
- Target & Color — Target audience, primary and secondary colors
- Design Details — Additional embellishments and details
The tool automatically composes these selections into an optimized prompt and generates a photorealistic fashion image.
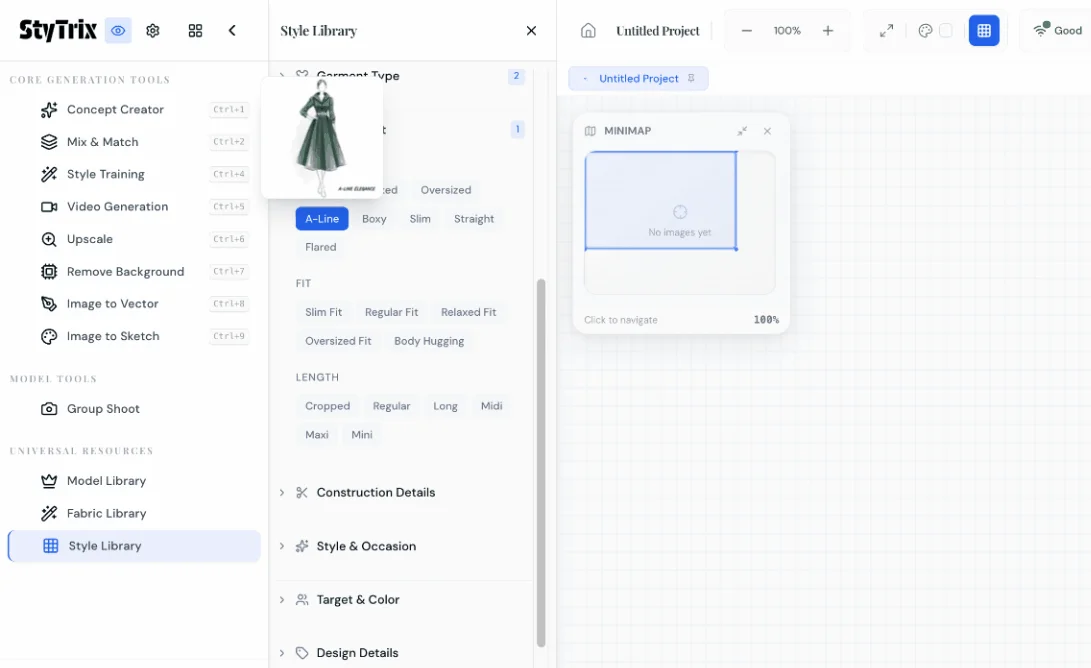
Step 1: Open Style Library & Select Garment Type
From the Dashboard, create a New Project to open a blank canvas. In the left sidebar under Universal Resources, click Style Library.
The first section, Garment Type, lets you browse garment categories. For this tutorial, we selected Dresses → Wrap Dress. You'll see a preview thumbnail update as you make selections.
Below that, the Design & Fit section opens automatically. Select your preferred silhouette — we chose A-Line for a classic, flattering shape.
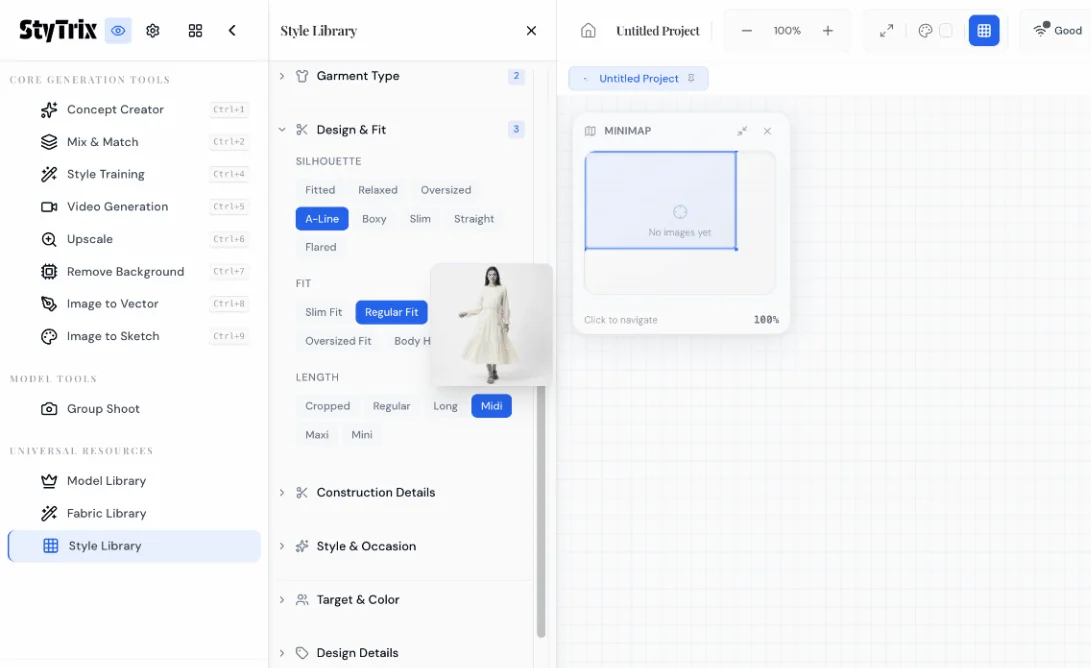
Step 2: Configure Design & Fit
Complete the Design & Fit section by selecting:
- Silhouette: A-Line — creates a fitted top that gradually flares out
- Fit: Regular Fit — comfortable, not too tight or too loose
- Length: Midi — hits below the knee for an elegant date night look
Each selection is highlighted in blue. The badge counter (showing "3") confirms how many attributes you've set in this section.
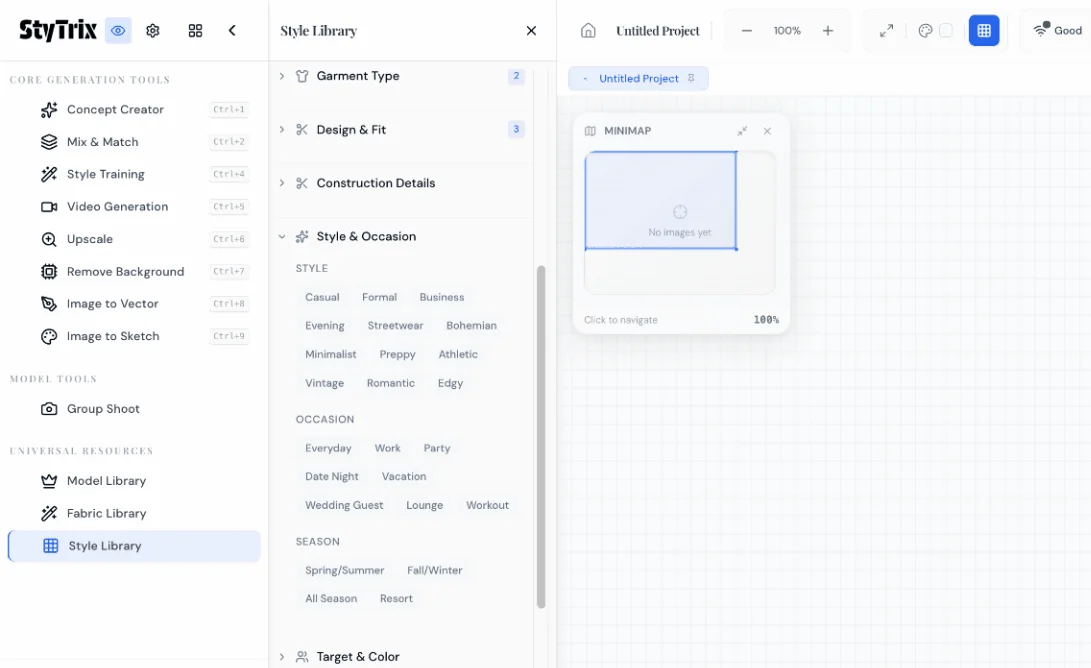
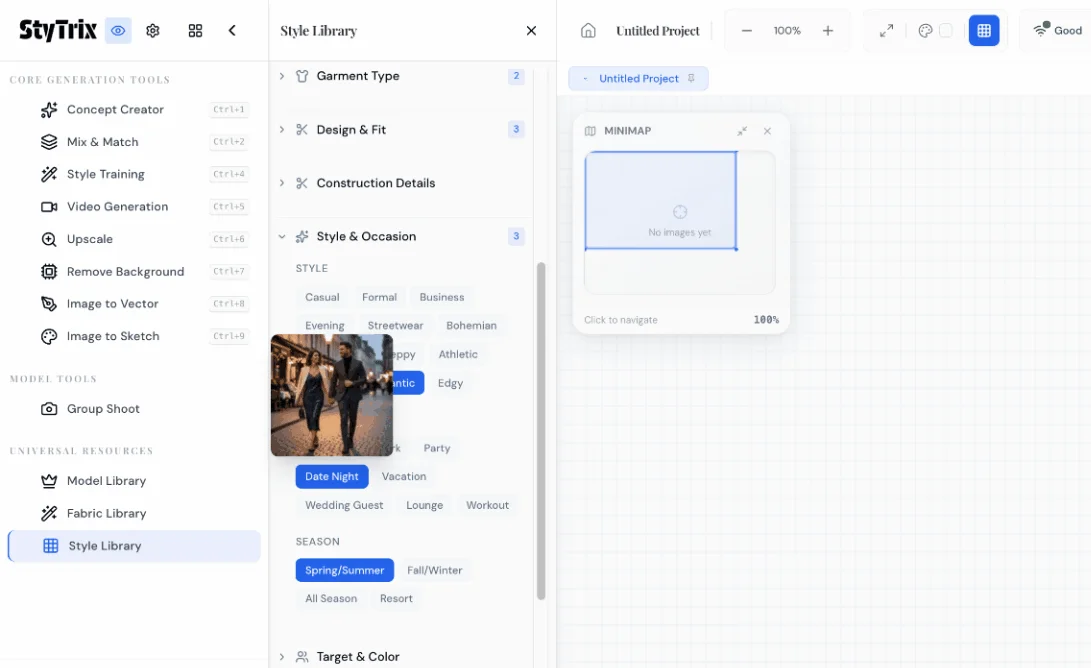
Step 3: Set Style & Occasion
Scroll down to the Style & Occasion section. This is where you define the aesthetic and context for your design.
Style options include: Casual, Formal, Business, Evening, Streetwear, Bohemian, Minimalist, Preppy, Athletic, Vintage, Romantic, and Edgy.
Occasion options include: Everyday, Work, Party, Date Night, Vacation, Wedding Guest, Lounge, and Workout.
Season options: Spring/Summer, Fall/Winter, All Season, and Resort.
We selected Romantic for the style — perfect for soft, feminine aesthetics with elegant draping.
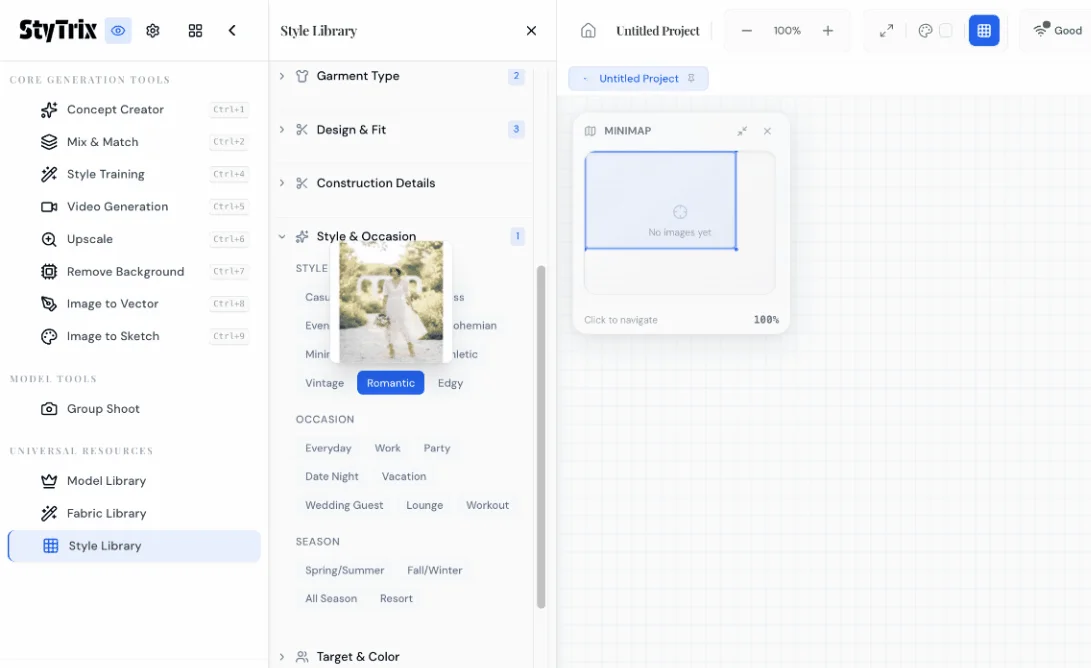
Then selected Date Night for the occasion and Spring/Summer for the season. The preview thumbnail updates to reflect the evolving style direction.
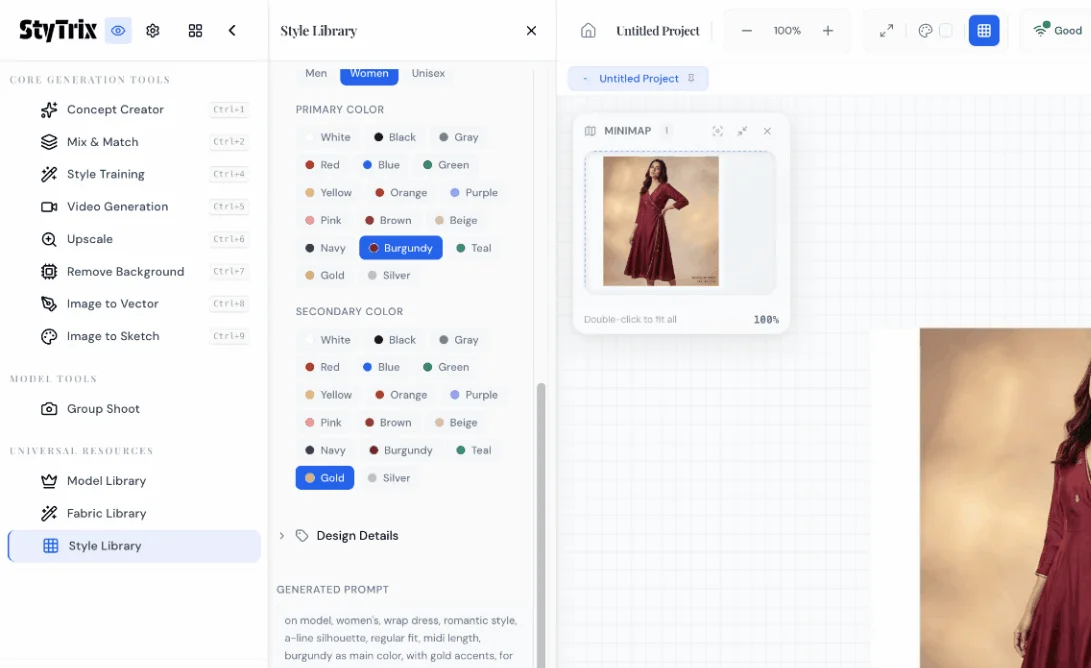
Step 4: Choose Target Audience & Colors
The Target & Color section lets you specify who the garment is designed for and define the color palette.
First, select the target audience — Men, Women, or Unisex. We chose Women.
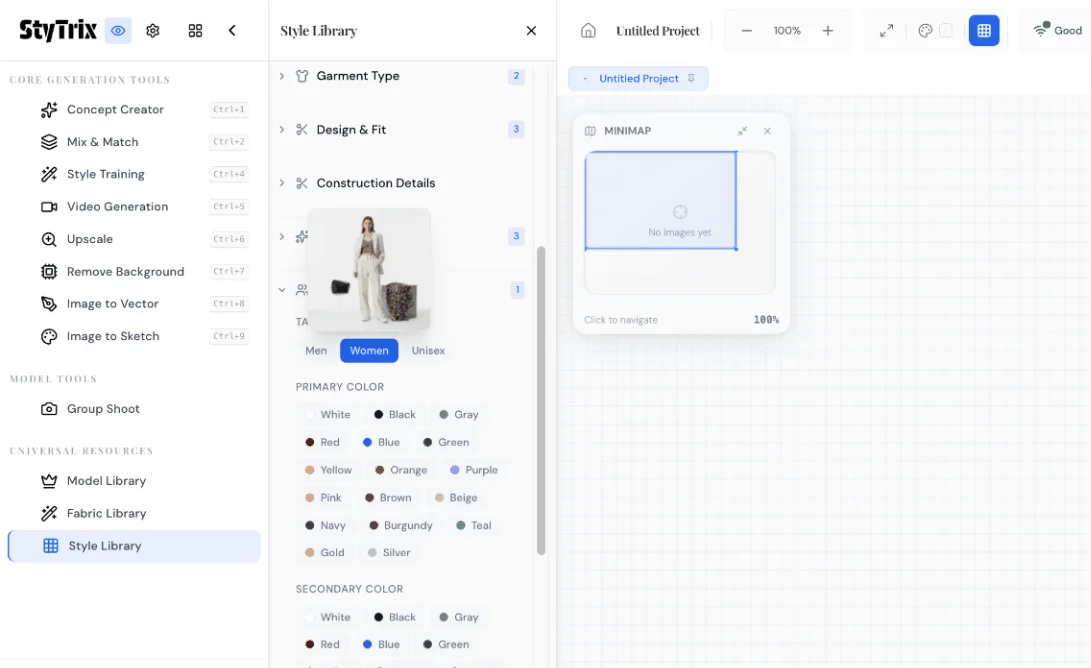
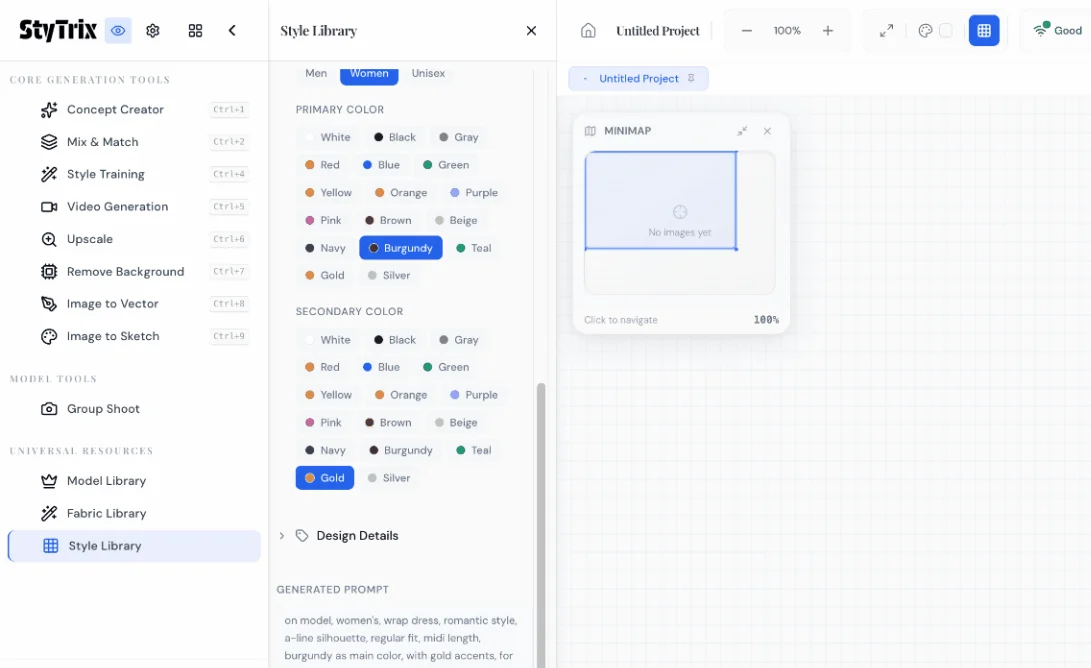
Next, choose your colors:
- Primary Color: Burgundy — a rich, romantic tone perfect for evening wear
- Secondary Color: Gold — adds warmth and subtle luxury as an accent
At the bottom of the panel, you'll see the Generated Prompt that Style Library has composed from all your selections:
"on model, women's, wrap dress, romantic style, a-line silhouette, regular fit, midi length, burgundy as main color, with gold accents, for date night, spring summer collection"
This is the prompt that will be sent to the AI — automatically built from your visual selections, no manual prompt writing needed.
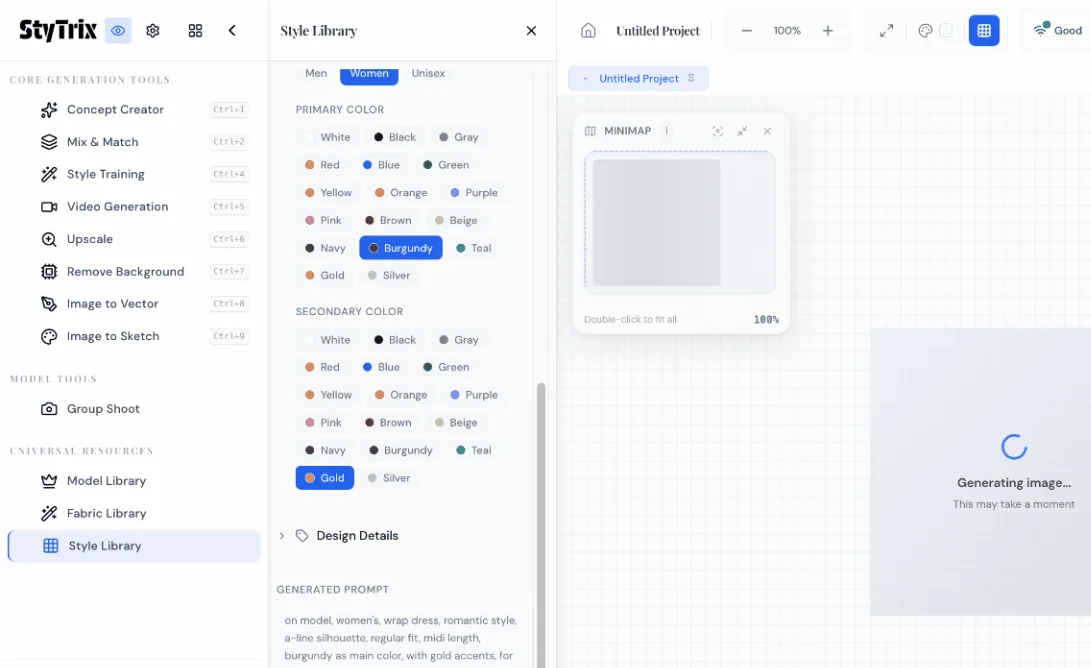
Step 5: Generate
Click the Generate button. The AI processes your style attributes and generates a photorealistic fashion image. You'll see a loading spinner with "Generating image... This may take a moment."
The Result
After about 20–30 seconds, your styled fashion image appears on the canvas. Here's our generated burgundy wrap dress:
- Silhouette: The A-line shape is clearly visible, fitted at the bodice and flowing out at the hem
- Color palette: Rich burgundy as the primary color with subtle gold accents
- Style: Romantic and feminine, perfect for a date night setting
- Presentation: On-model, showing how the dress drapes and moves naturally
- Quality: Photorealistic, ready for lookbooks, presentations, or e-commerce
Style Library vs. Manual Prompts
| Manual Prompt | Style Library | |
|---|---|---|
| Speed | Trial and error to get right | Select and generate |
| Consistency | Varies with wording | Structured attributes ensure consistency |
| Learning curve | Need to know prompt engineering | Click-based, intuitive |
| Reproducibility | Hard to replicate exact styles | Same selections = same prompt |
| Brand guidelines | Must remember and type each time | Visual selection enforces standards |
Pro Tips
- Start with Garment Type — it affects which Design & Fit options are available
- Use the Generated Prompt as a learning tool — read what Style Library generates to improve your own prompt writing skills
- Combine with other tools — after generating, use Upscale for higher resolution, Remove Background for e-commerce, or Video Generation for motion content
- Iterate by changing one attribute — swap Romantic for Minimalist, or Date Night for Business, to quickly explore different directions
- Save your favorites — generated images appear on your canvas where you can organize, compare, and export them
What's Next?
Once you have your styled image, you can:
- Explore variations — Change the style from Romantic to Bohemian, or swap Burgundy for Emerald
- Upscale — Use the Upscale tool for print-quality resolution
- Remove Background — Prepare images for e-commerce product listings
- Video Generation — Create a short fashion video from your static image
- Mix & Match — Combine generated pieces into complete outfit compositions
Ready to create your own styled fashion images? Sign up for StyTrix and let Style Library build the perfect prompt for you.
Related Tutorials & Guides
- Fabric Library: Generate Custom Fabric Swatches — create fabric textures to pair with styled garments
- Group Shoot: Same Outfit on Multiple Models — showcase styled looks across diverse models
- Model Library: Create Custom AI Models — build the perfect models for your styled images
- StyTrix Style Library Complete Guide — deep dive into all style, occasion, and audience options
- AI Fashion Lookbook Generator — turn styled images into professional lookbooks


