Generation tools
The eight core generation tools — from turning a sketch into a photorealistic garment to producing a runway video.
These tools live under Core Generation Tools in the canvas sidebar. Each opens a panel on the left; fill it in and press Send. New to the canvas? Read Using the canvas first.
Concept CreatorCtrl/⌘ + 1
Turn a description — or a technical sketch — into a finished, photorealistic garment. Cost: about 2 credits.
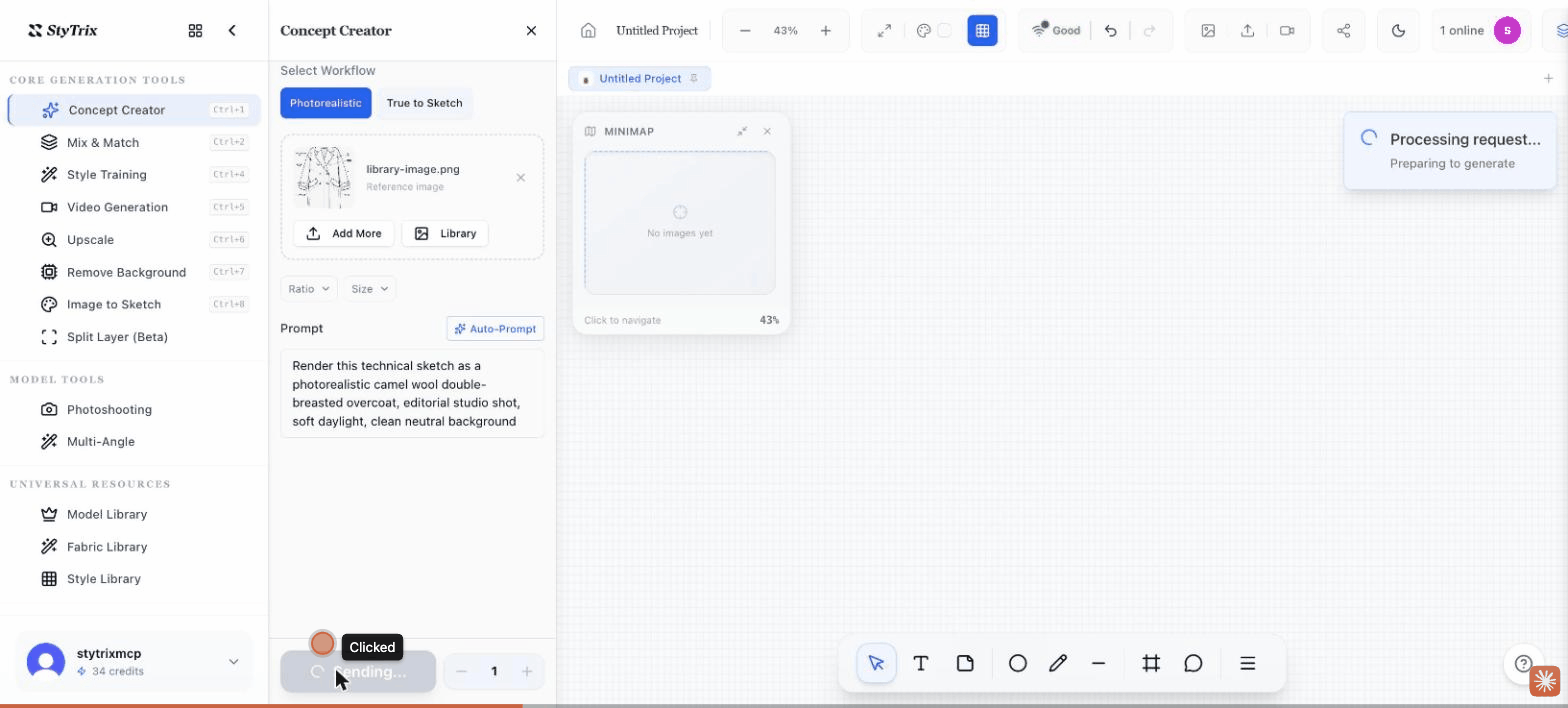
- Open Concept Creator and keep Photorealistic selected under Select Workflow.
- Add a reference image (optional): click Library, pick a technical sketch or product photo, and Insert it. It appears as your Reference image.
- Type a Prompt describing the final look — e.g.
Render this sketch as a photorealistic camel wool overcoat, editorial studio shot. Optionally set Ratio and Size. - Press Send. The rendered garment is placed on your canvas.
Mix & MatchCtrl/⌘ + 2
Dress a model in a set of garments to preview a complete styled outfit. Cost: about 1 credit.
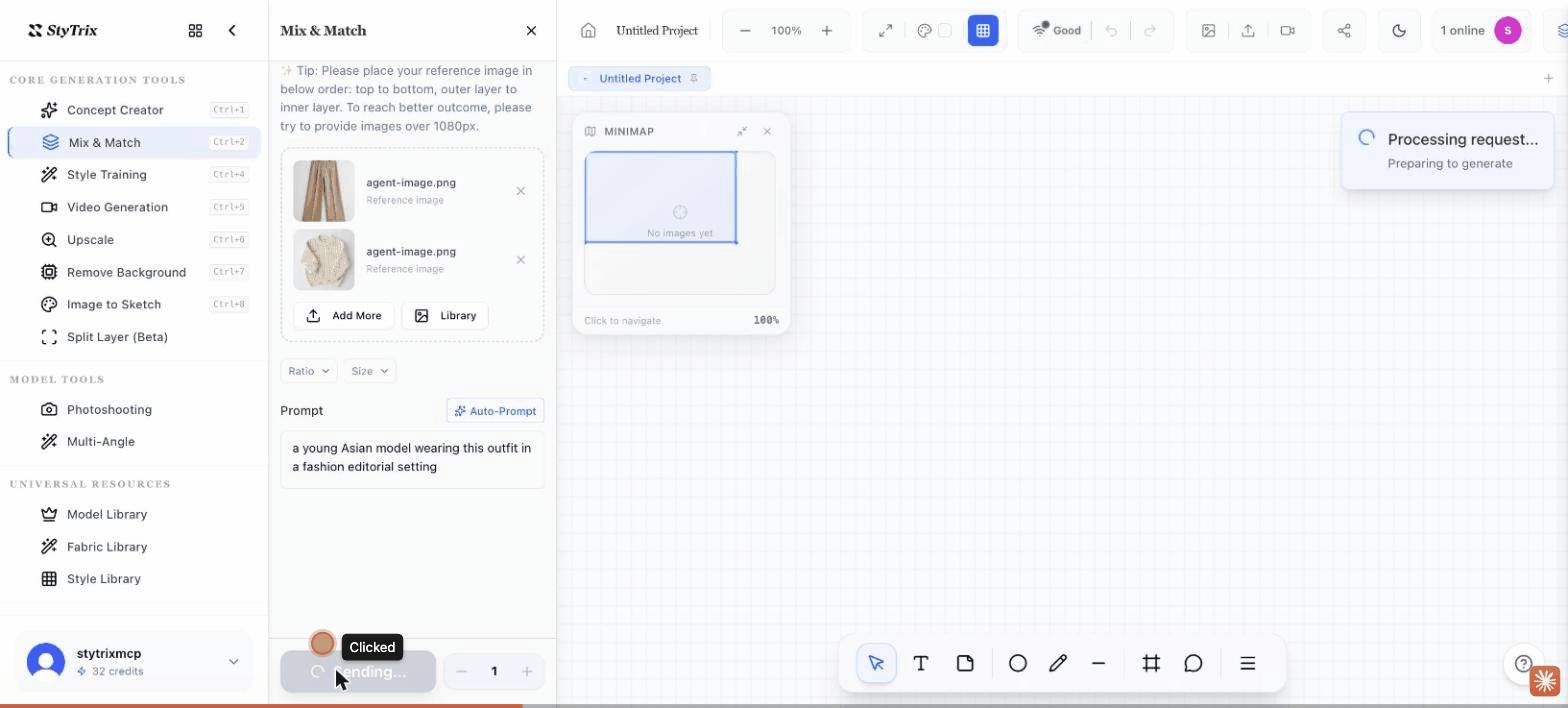
- Open Mix & Match.
- Click Library and add your garments top to bottom, outer to inner — e.g. select the top first, then the bottom — and Insert. Use images over 1080px for best results.
- Adjust the pre-filled Prompt if you want a specific model or setting (it defaults to a fashion-editorial scene).
- Press Send to generate the styled look on a model.
Style TrainingCtrl/⌘ + 4
Train a custom style (a Flux/LoRA model) from a set of reference images so future generations match your house look. Cost: about 100 credits.
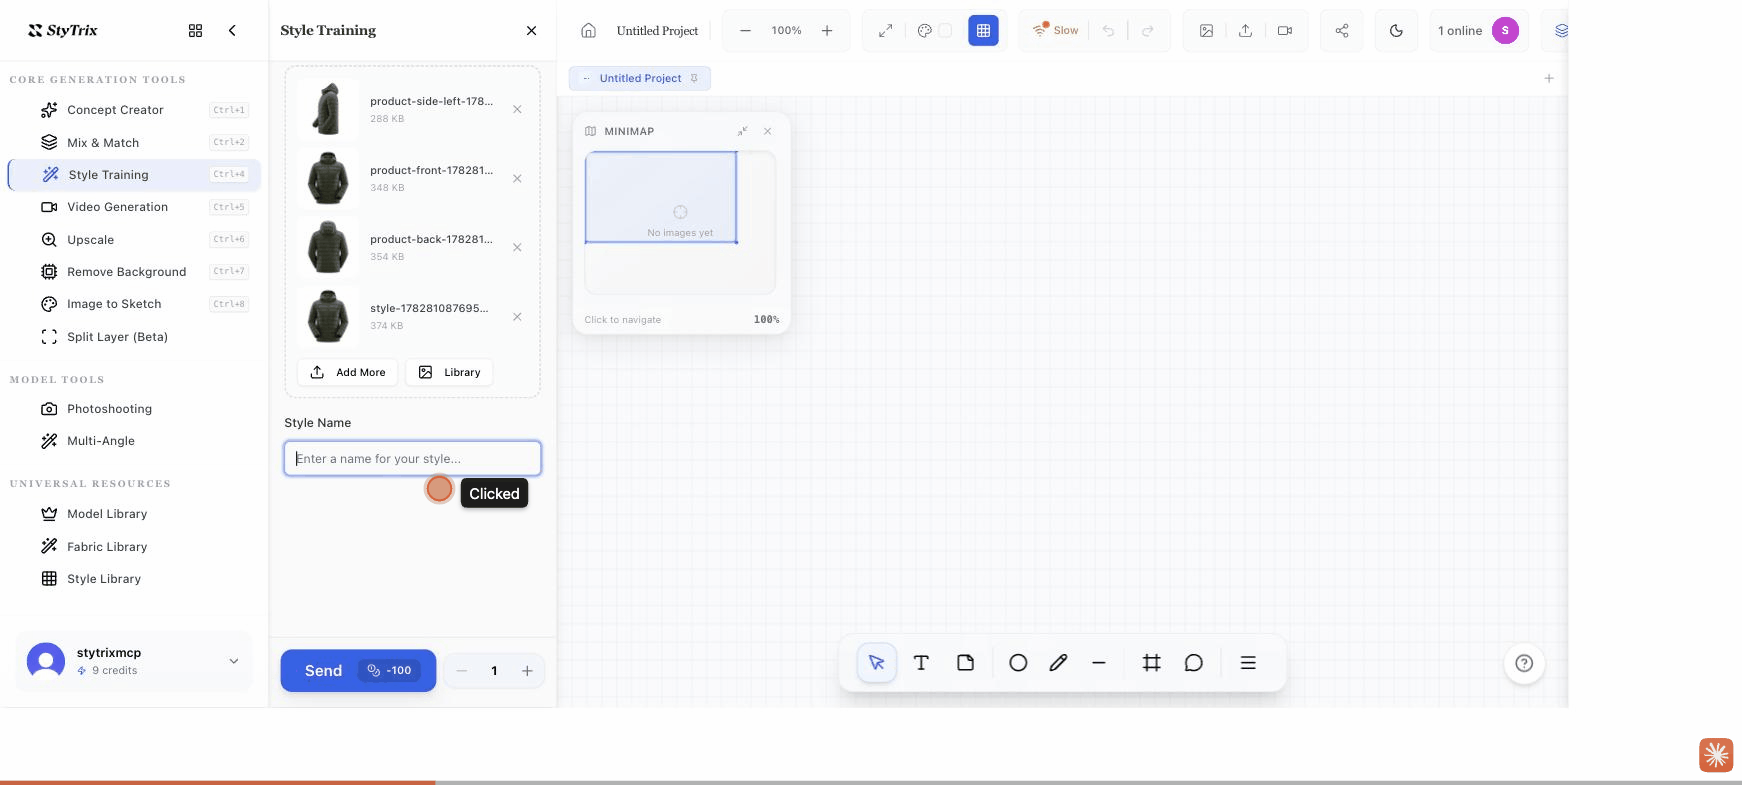
- Open Style Training.
- Add a set of images that share a consistent style via Browse or Library (more, varied angles train better).
- Enter a Style Name you'll recognise later.
- Press Send to start training.
Video GenerationCtrl/⌘ + 5
Animate a still into a short fashion clip — a runway walk, a turn, or a fabric-in-motion shot. Cost: about 40 credits.
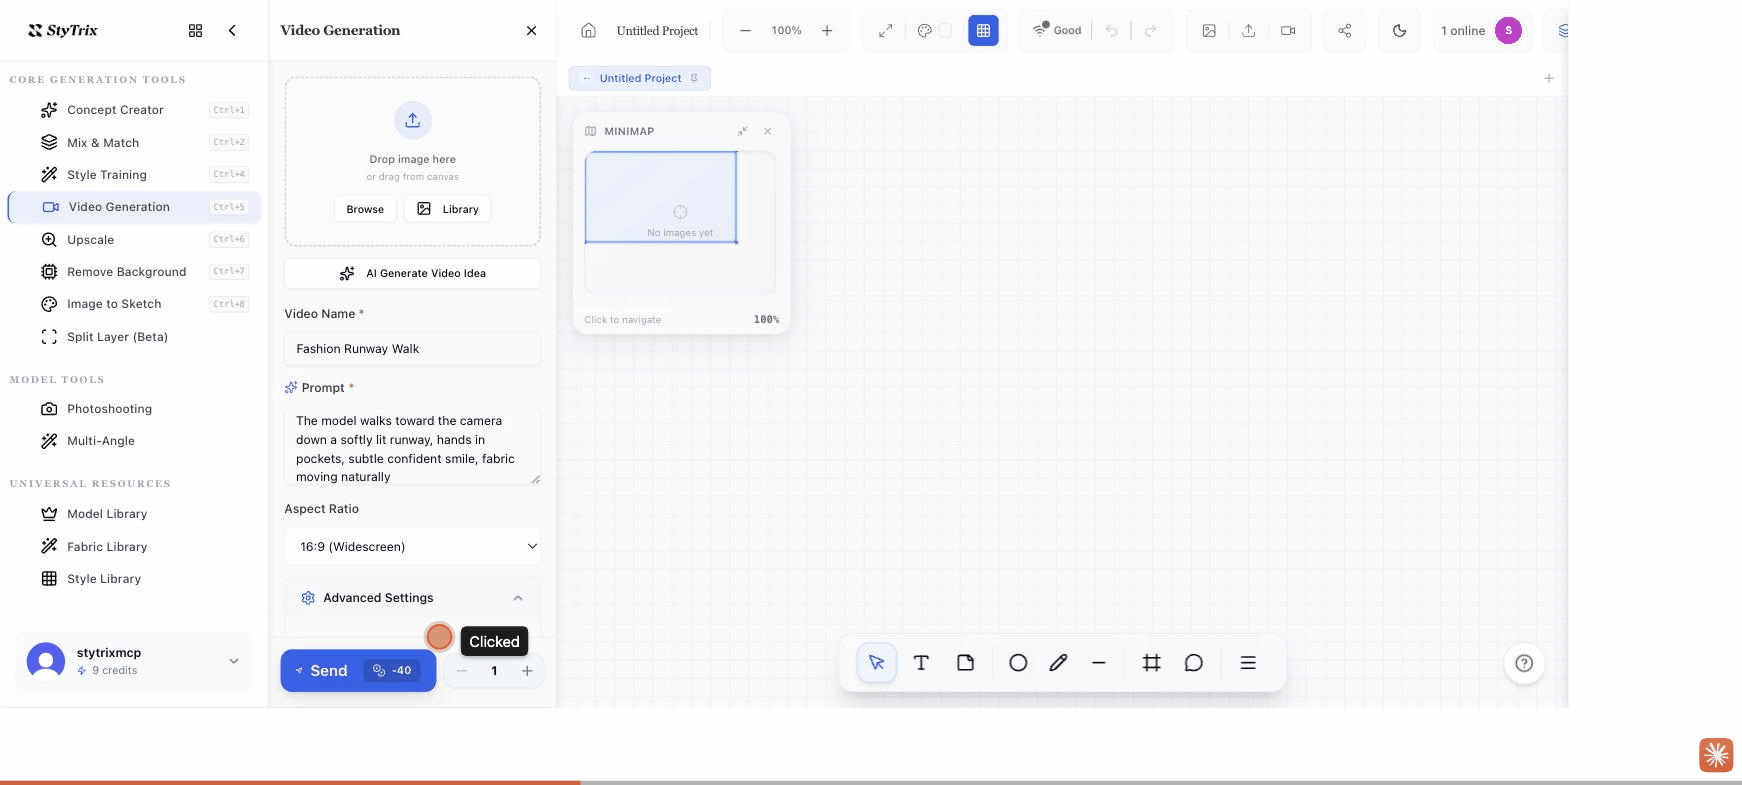
- Open Video Generation and add a start image via Browse or Library (optional but recommended).
- Give the clip a Video Name and a Prompt describing the motion — e.g.
The model walks toward the camera down a softly lit runway. Tip: use AI Generate Video Idea for a starting prompt. - Choose an Aspect Ratio and tweak Advanced Settings if needed.
- Press Send to start rendering.
UpscaleCtrl/⌘ + 6
Increase an image's resolution — up to 8 megapixels — for print and high-detail presentation. Cost: about 1 credit.
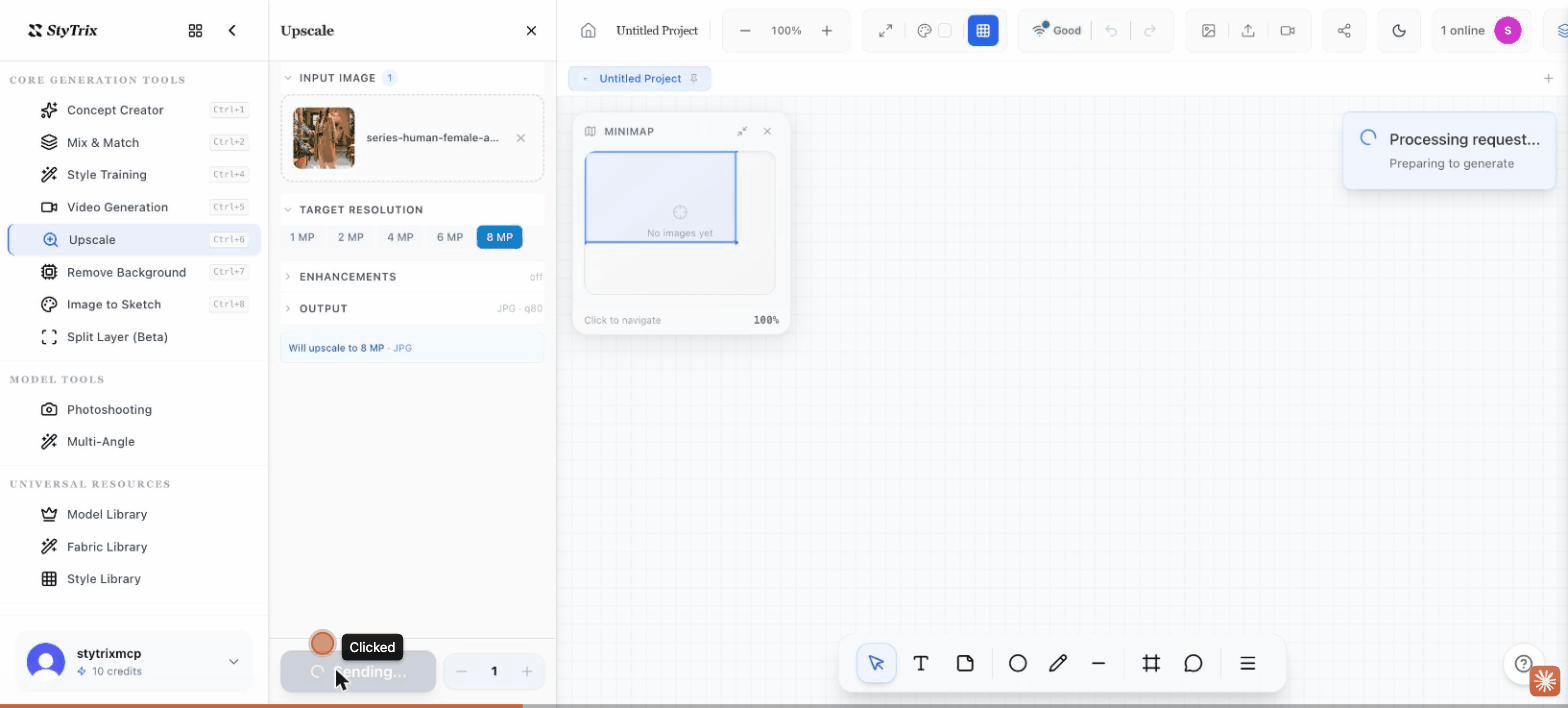
- Open Upscale and add the image via Library, Browse, or by dragging it from the canvas.
- Choose a Target Resolution (1–8 MP) and, optionally, enable Enhancements.
- Press Send. The upscaled version is placed on your canvas.
Remove BackgroundCtrl/⌘ + 7
Cut the subject out of its background to get a clean, transparent cut-out. Cost: about 1 credit.
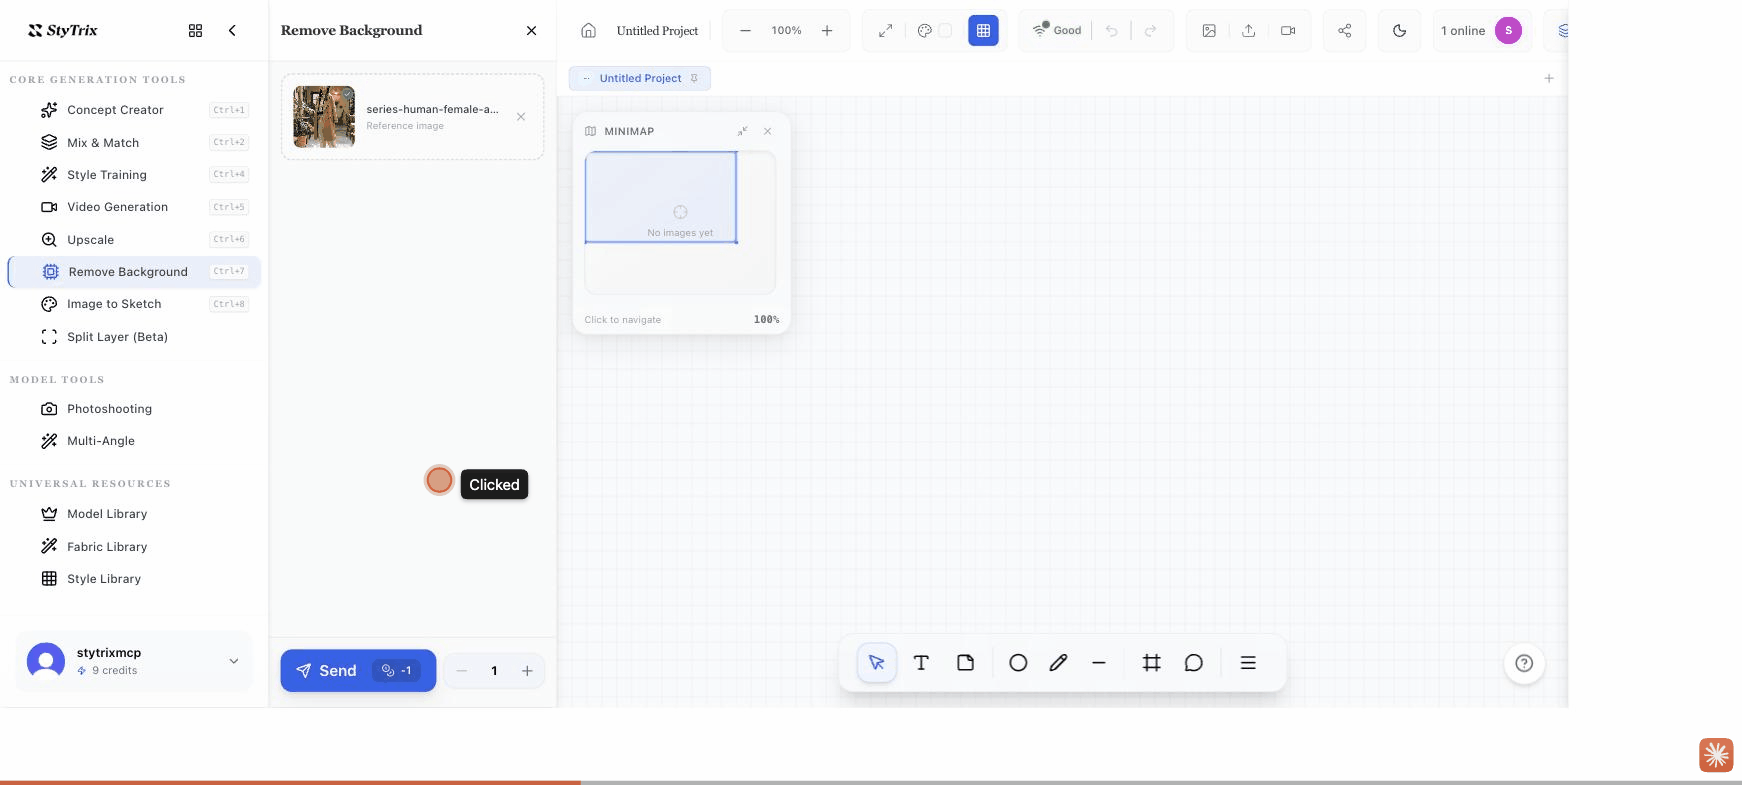
- Open Remove Background.
- Add the image via Library, Browse, or drag it from the canvas.
- Press Send to get the background-free cut-out.
Image to SketchCtrl/⌘ + 8
Convert a garment photo into a clean technical flat sketch through a three-stage pipeline. Cost: about 1 credit.
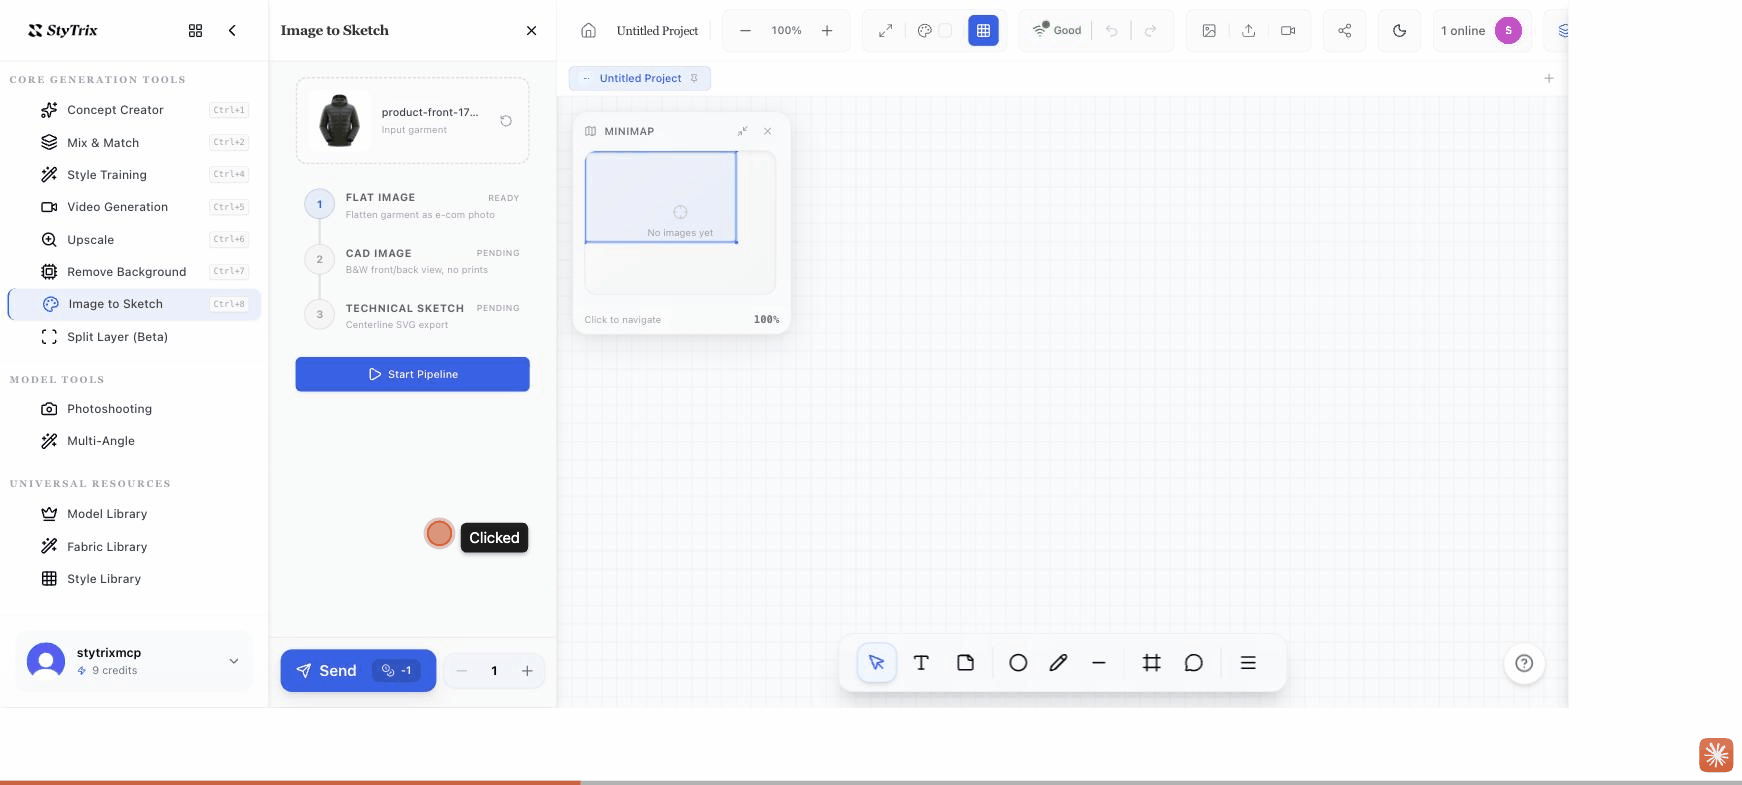
- Open Image to Sketch and add a garment photo via Library or Browse.
- Review the three pipeline stages — Flat Image, CAD Image, and Technical Sketch.
- Press Start Pipeline (or Send) to produce the technical flat.
Split Layer (Beta)
Separate an image into stacked visual layers — for example to isolate the subject from the background or break a look into pieces. Cost: about 2 credits.
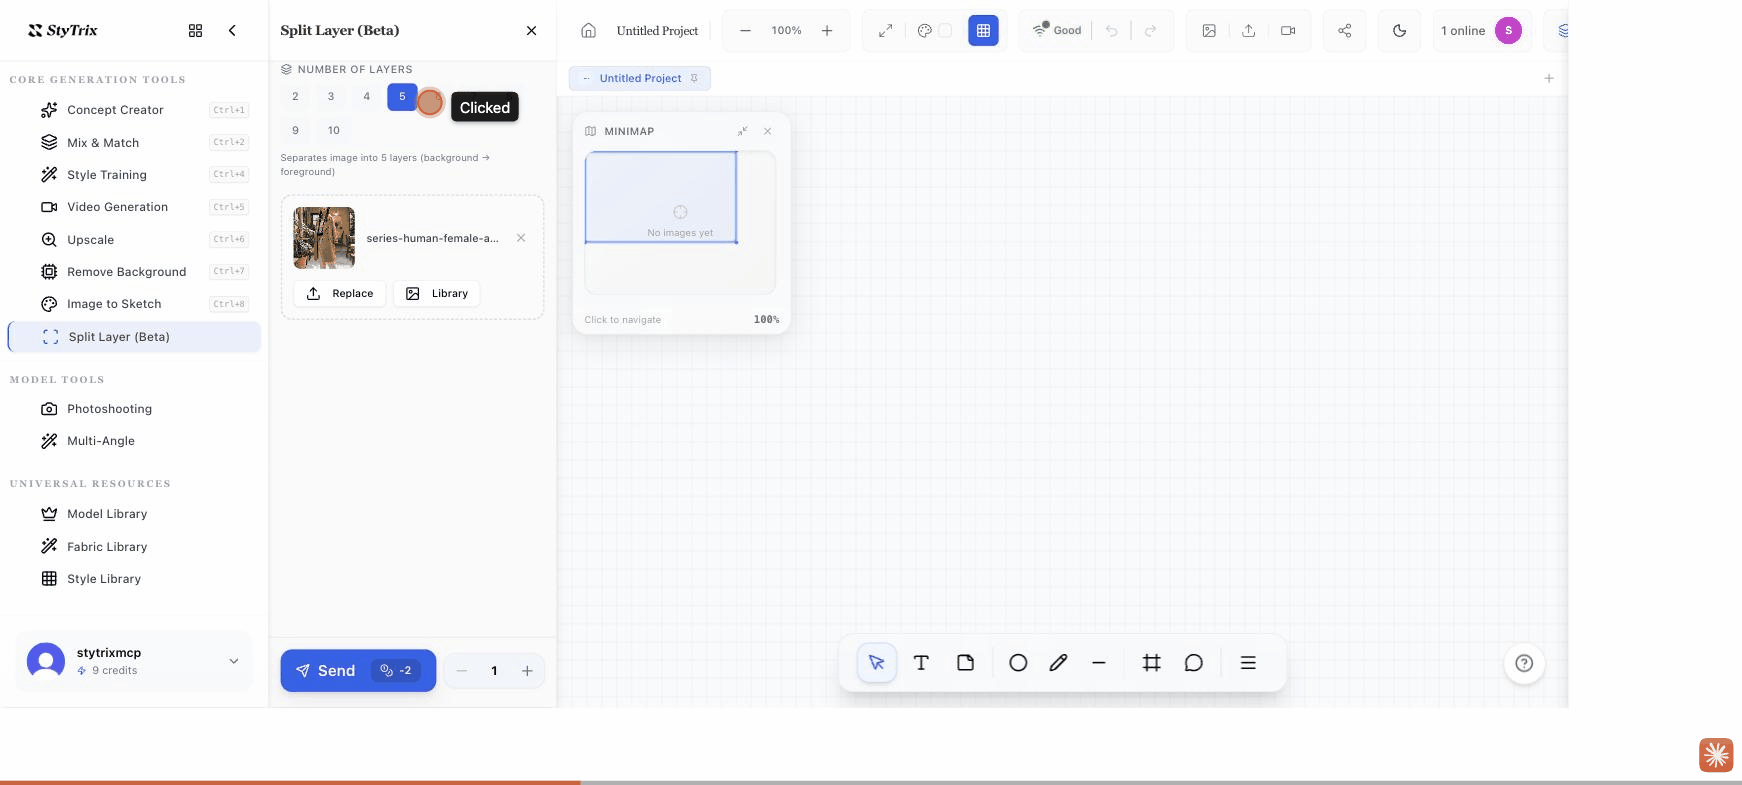
- Open Split Layer.
- Pick the Number of Layers (2–10) to separate the image into.
- Add the image via Library or Browse.
- Press Send to get the separated layers on your canvas.